Steps to Activate your Ad Credits Offer
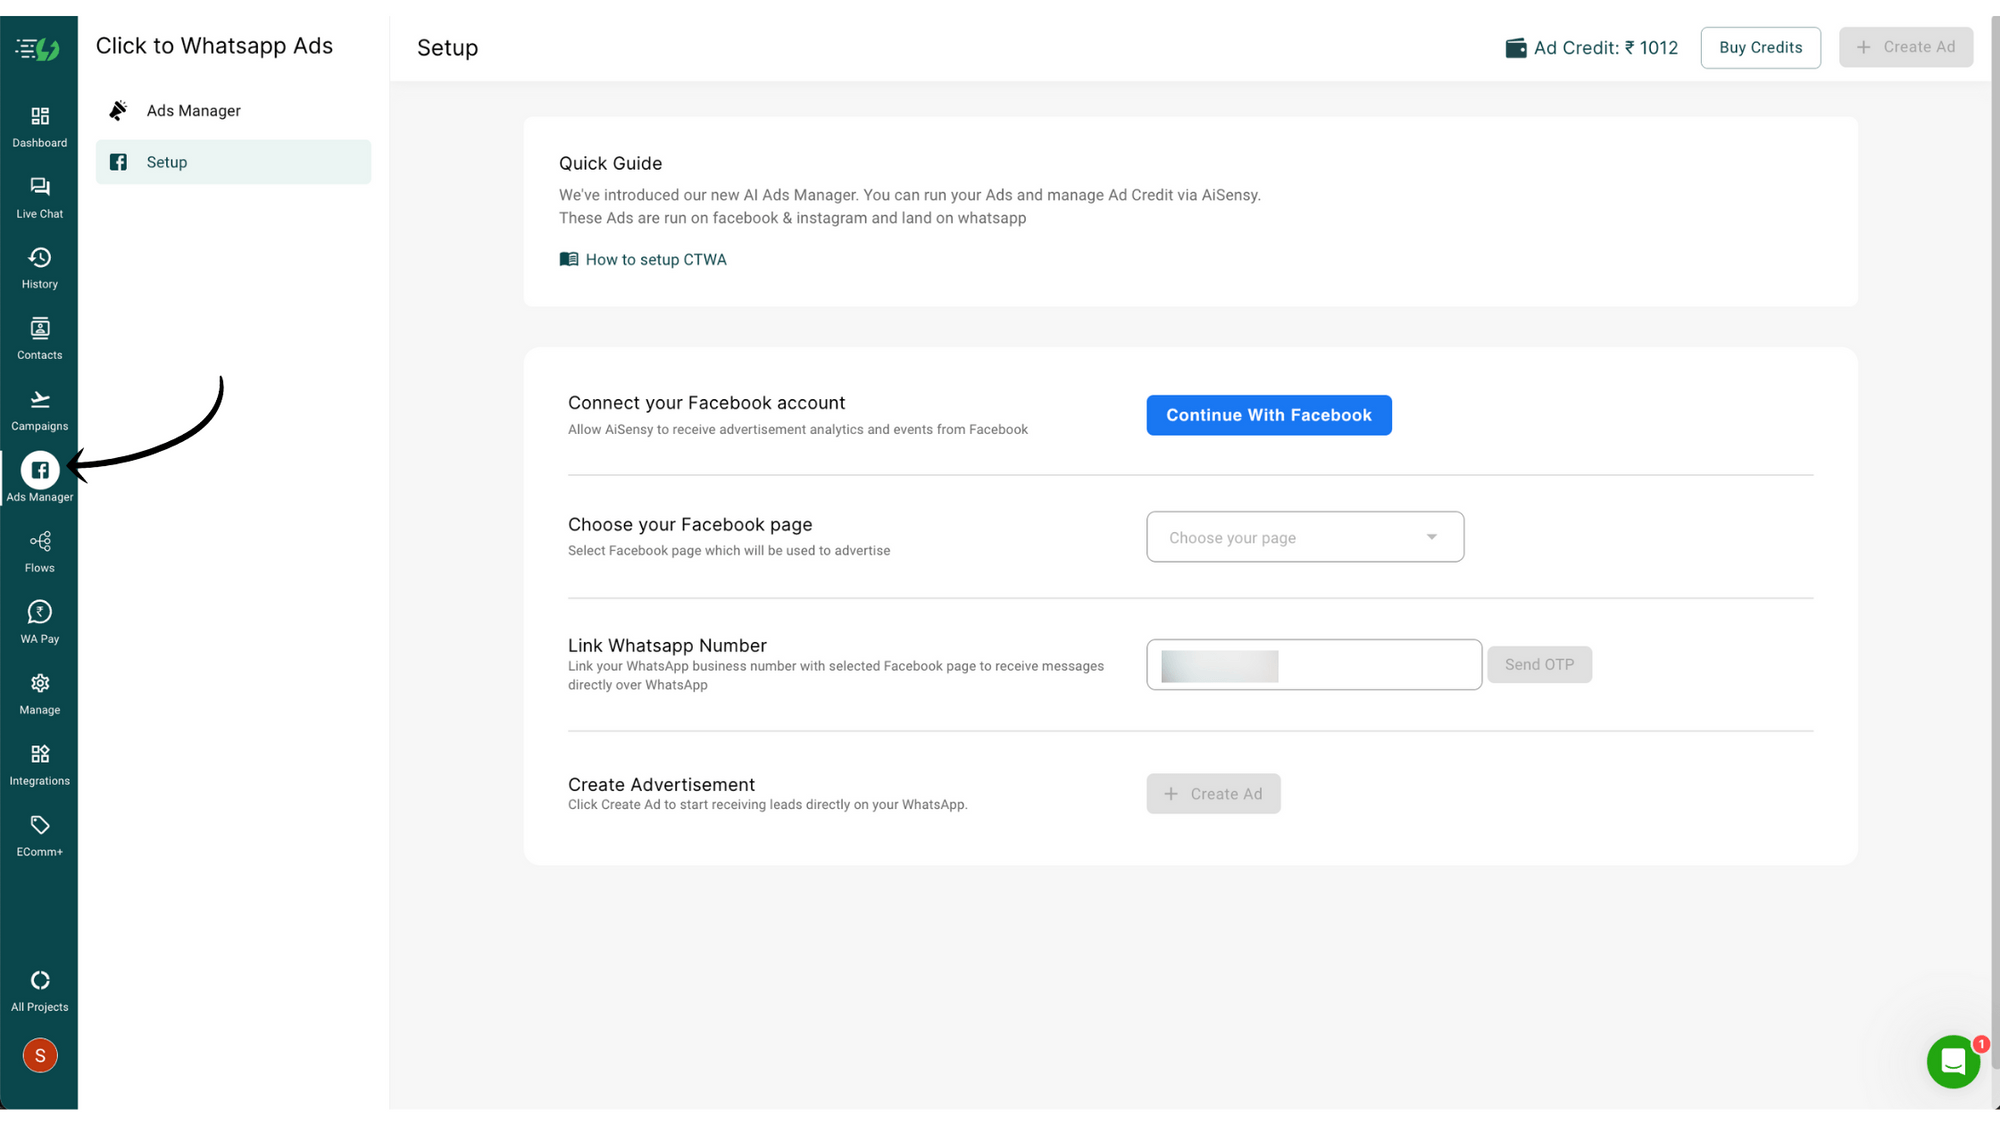
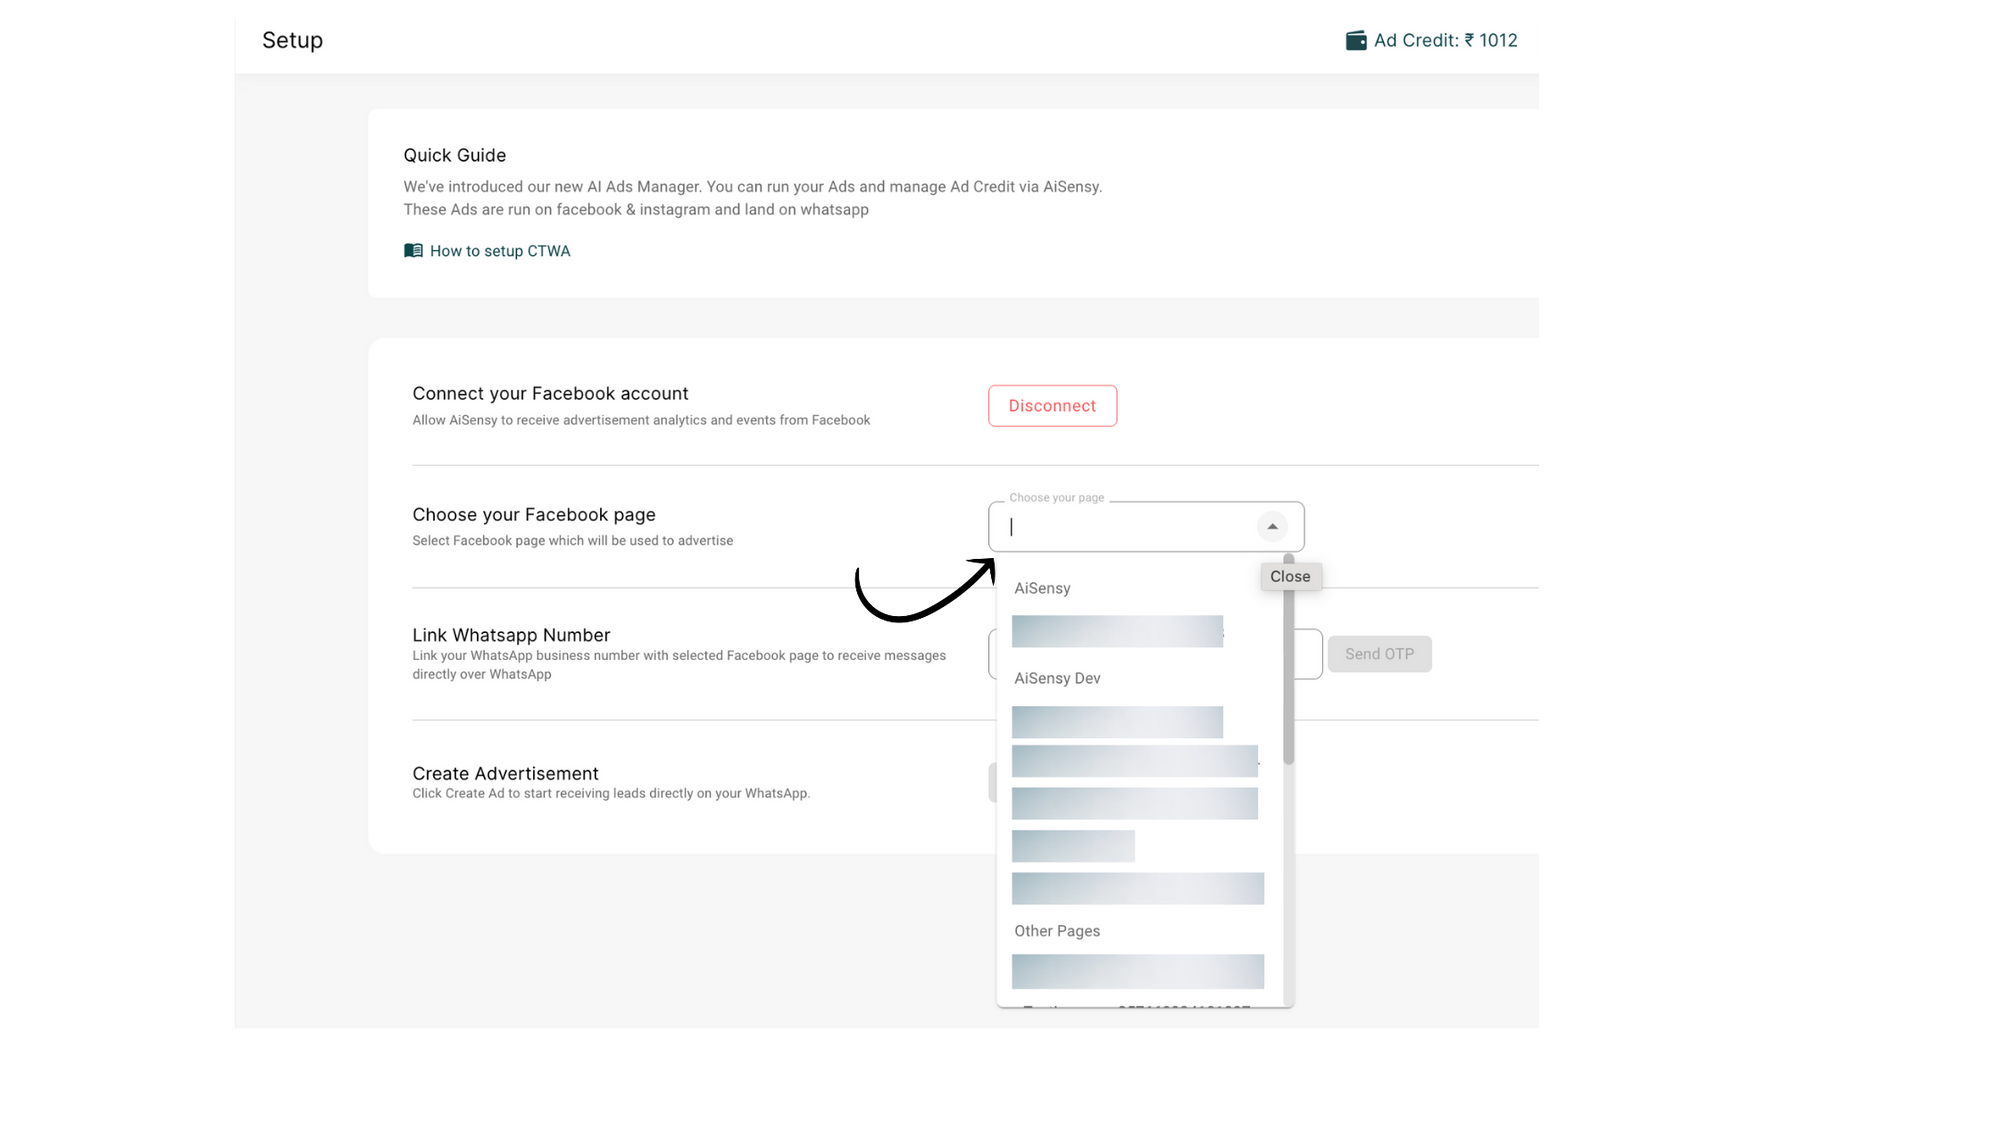
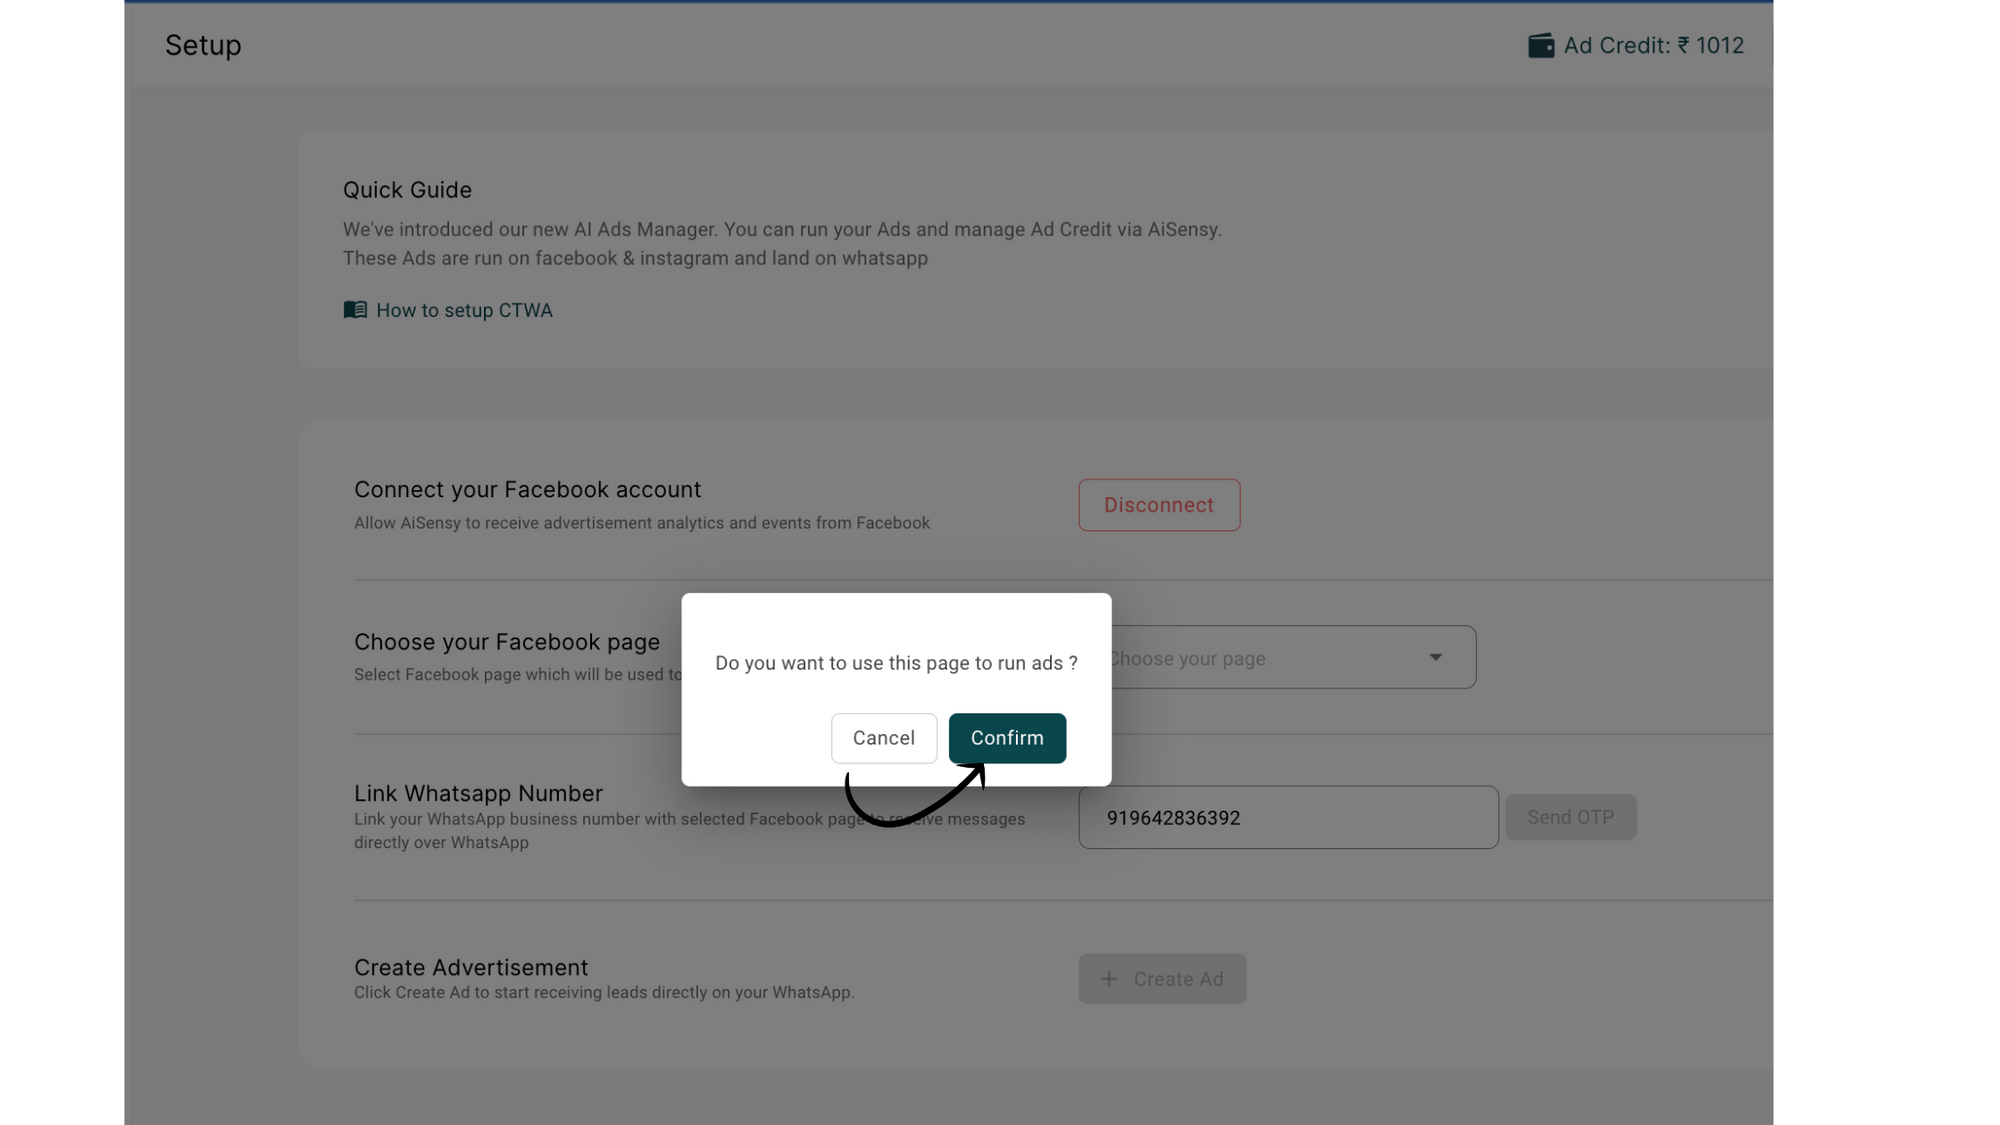
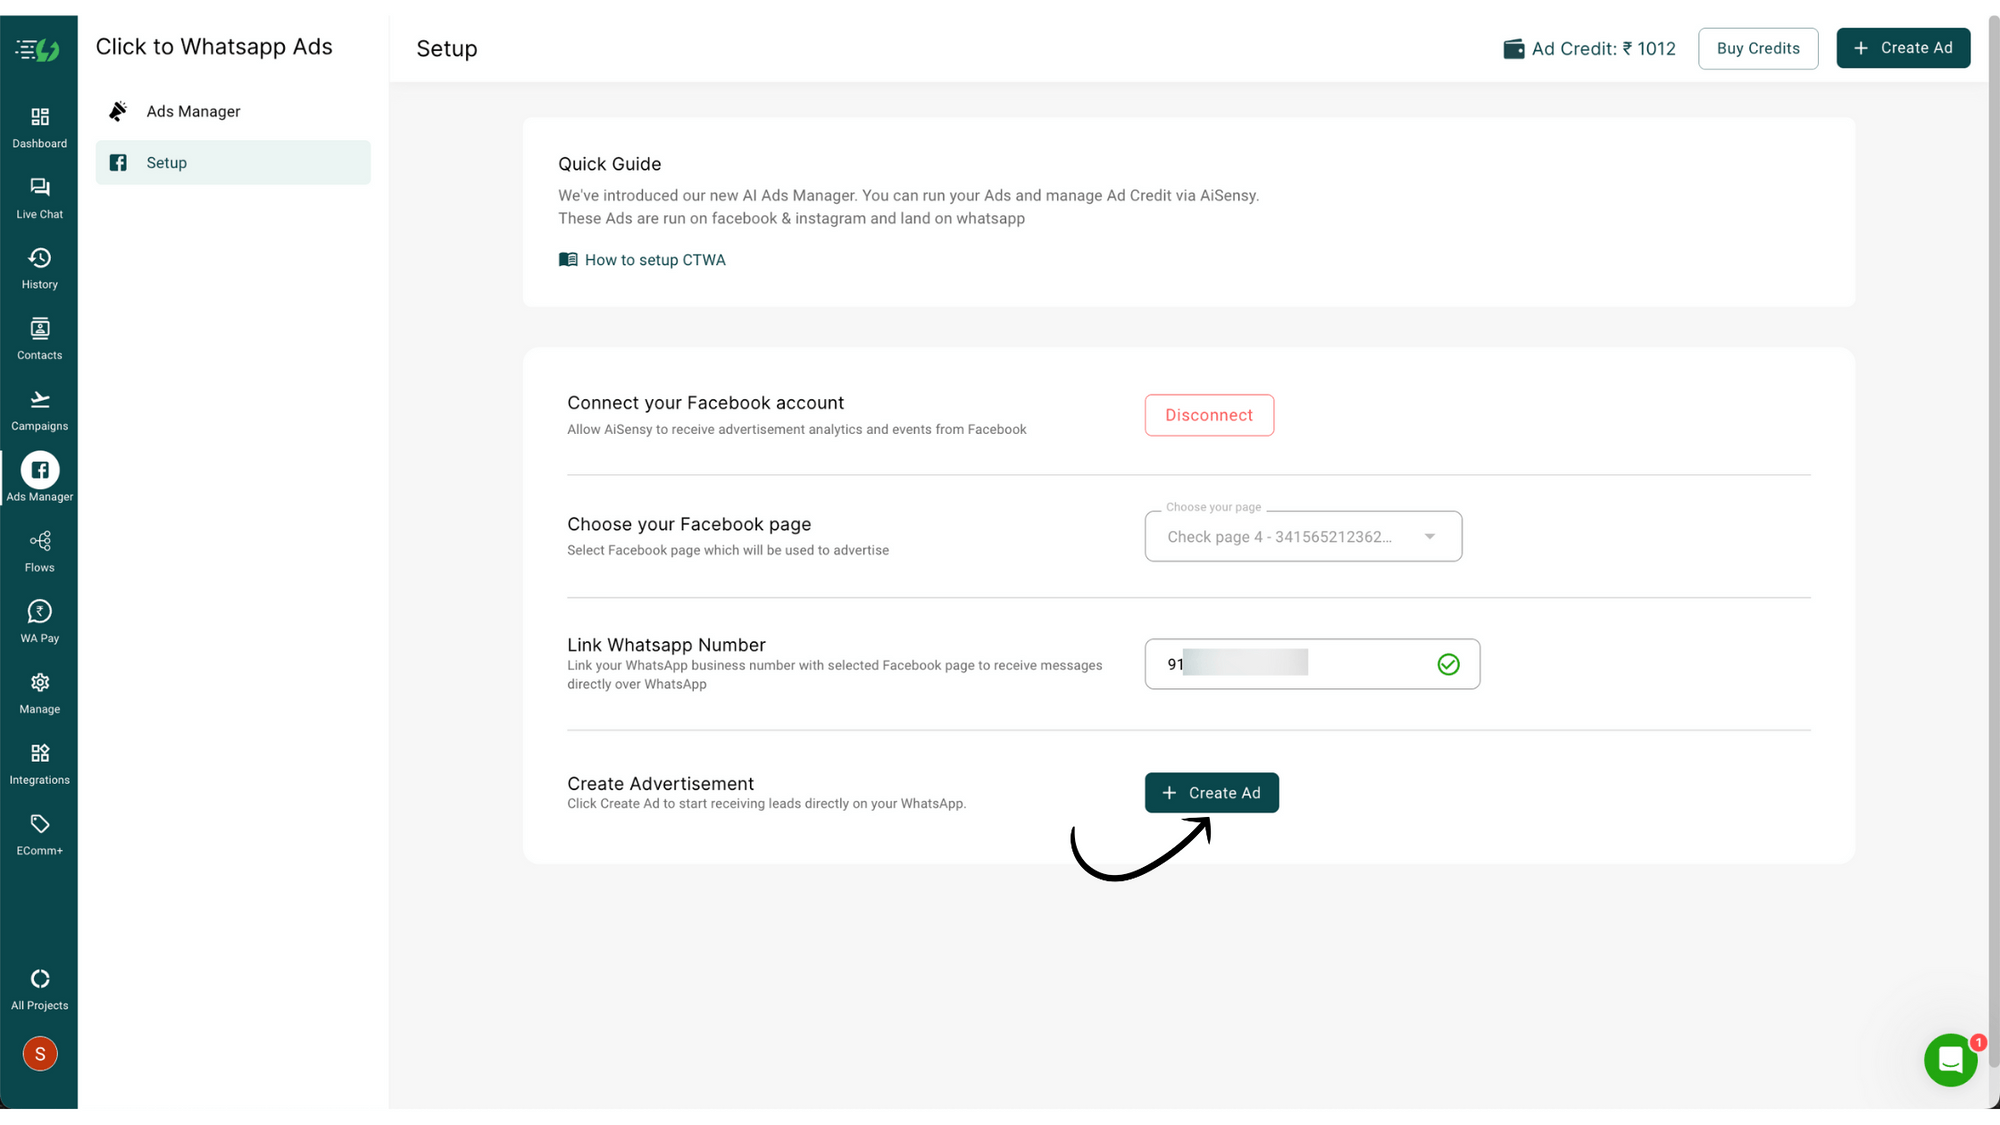
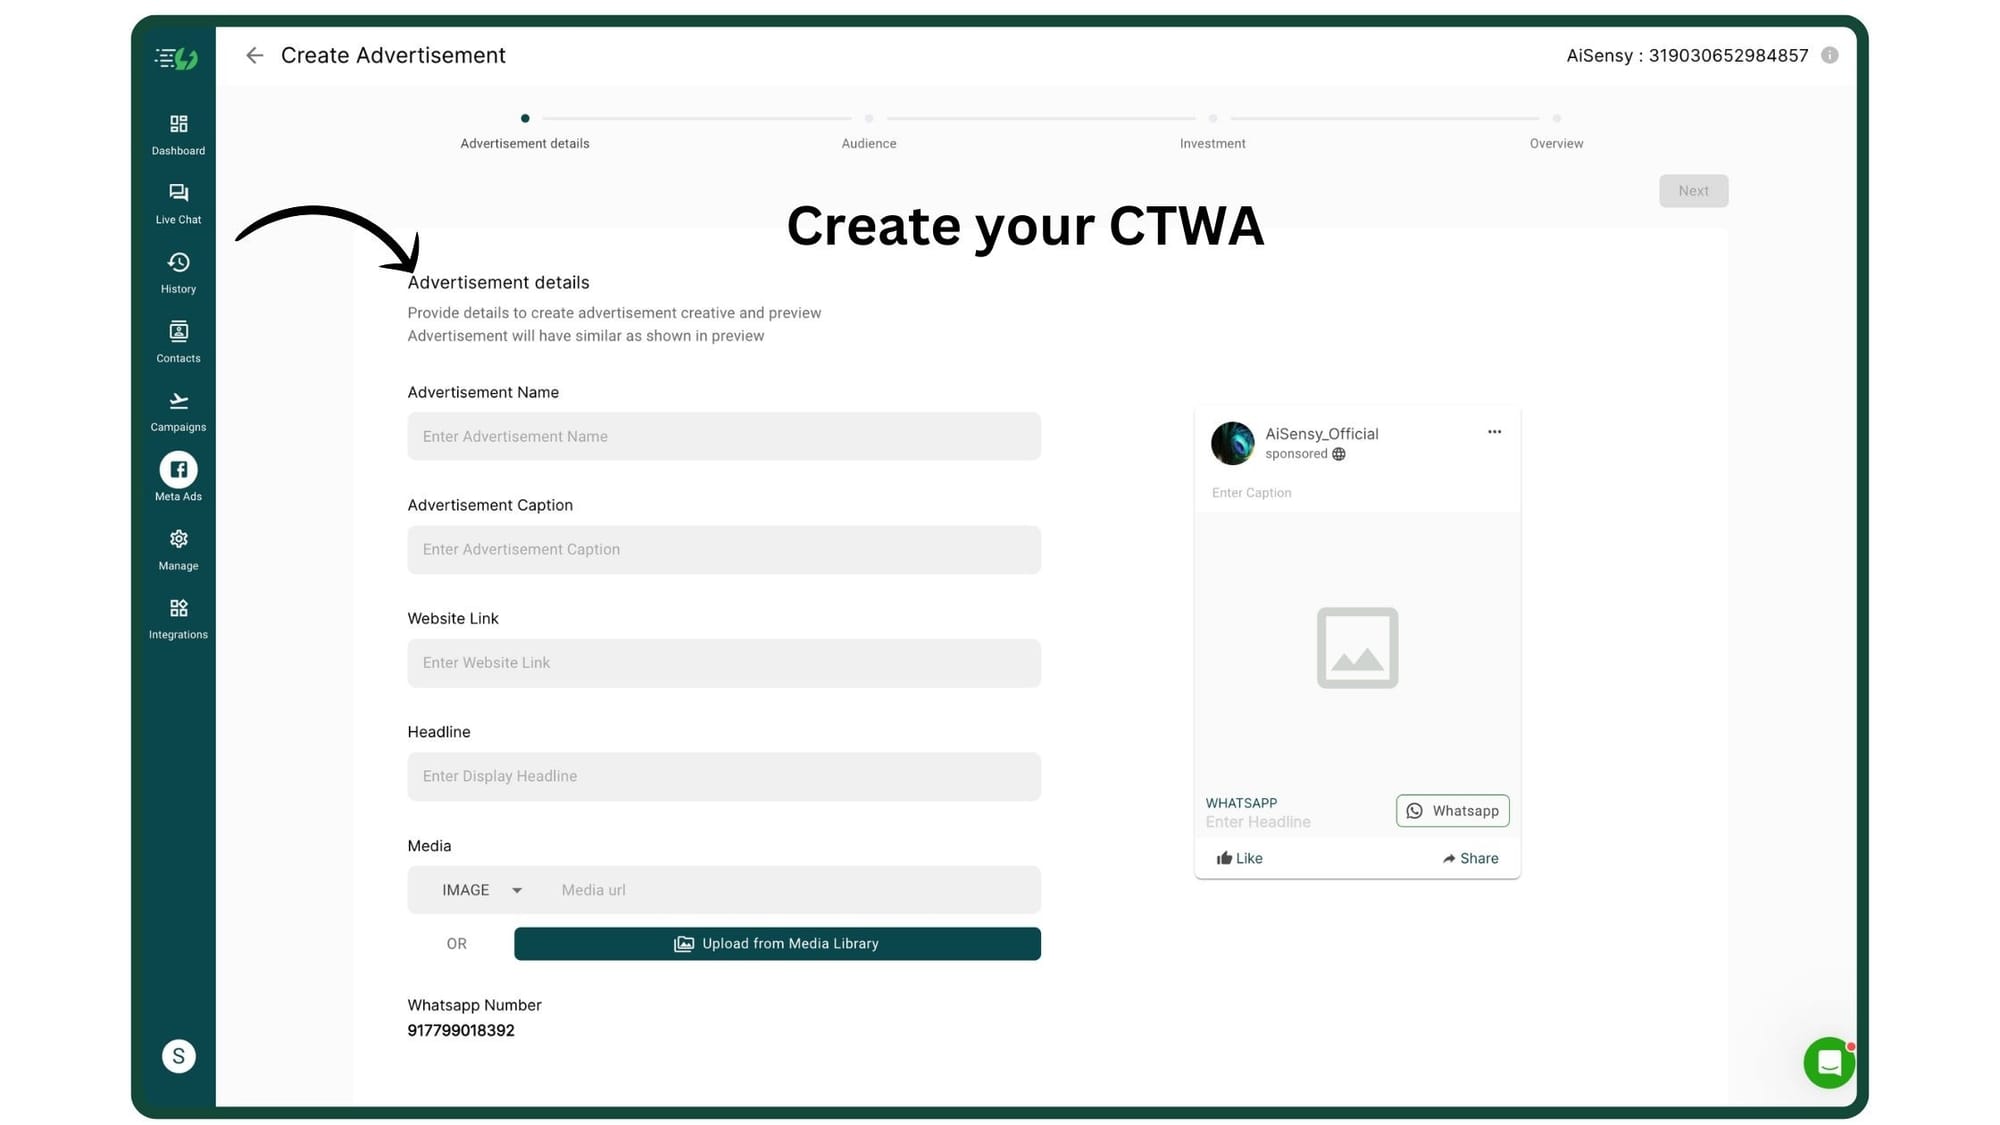
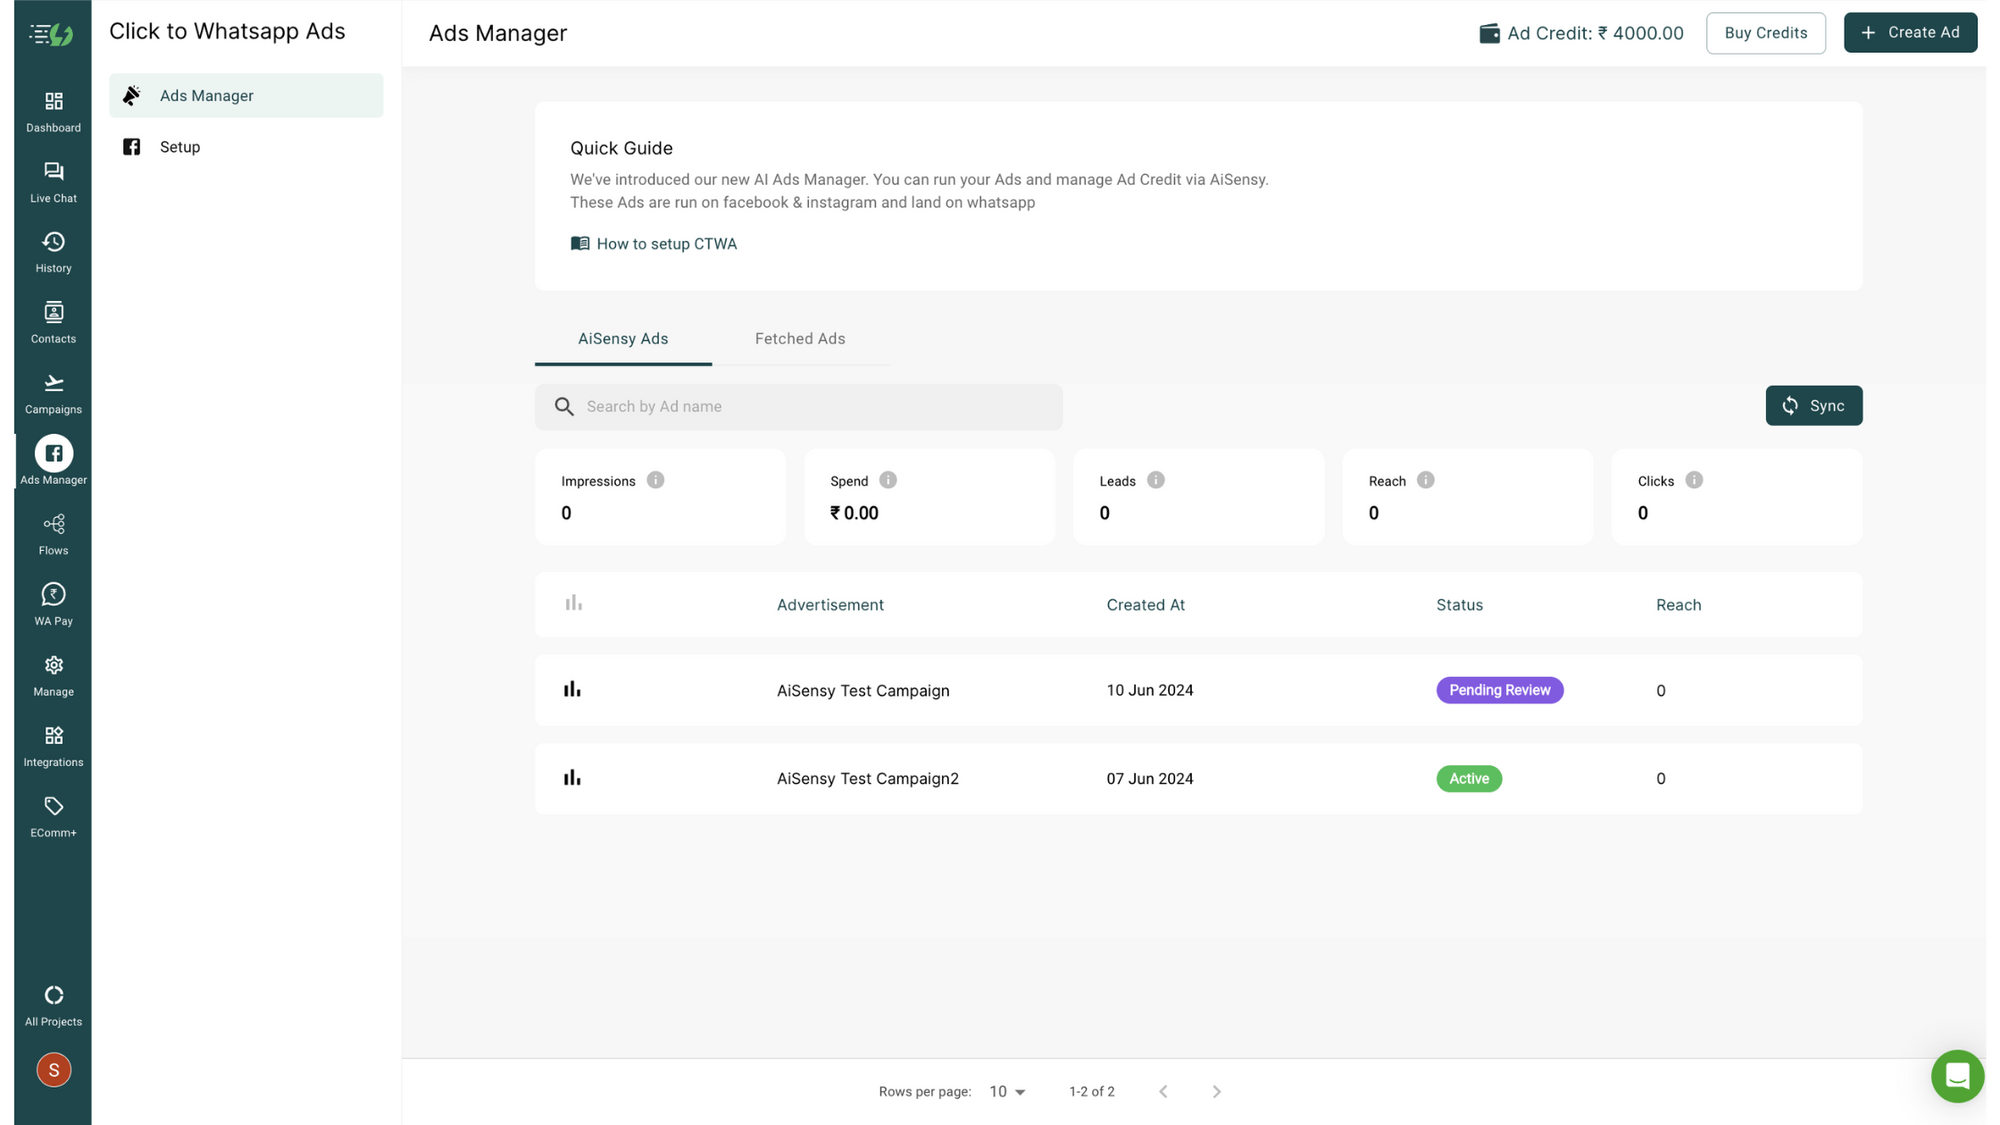
Signup on AiSensy -> Enter Your Access Code-> Your Plan will get activated and ₹500 Ad Credits will be added instantly (₹500 Remaining Ad Credits on Connecting Ads Manager) -> Start WhatsApp Business API Process -> You'll get Your Virtual Number in this process -> Go to Ads Manager -> Connect Facebook -> Connect your Page -> Avail Remaining ₹500 Ad Credits!
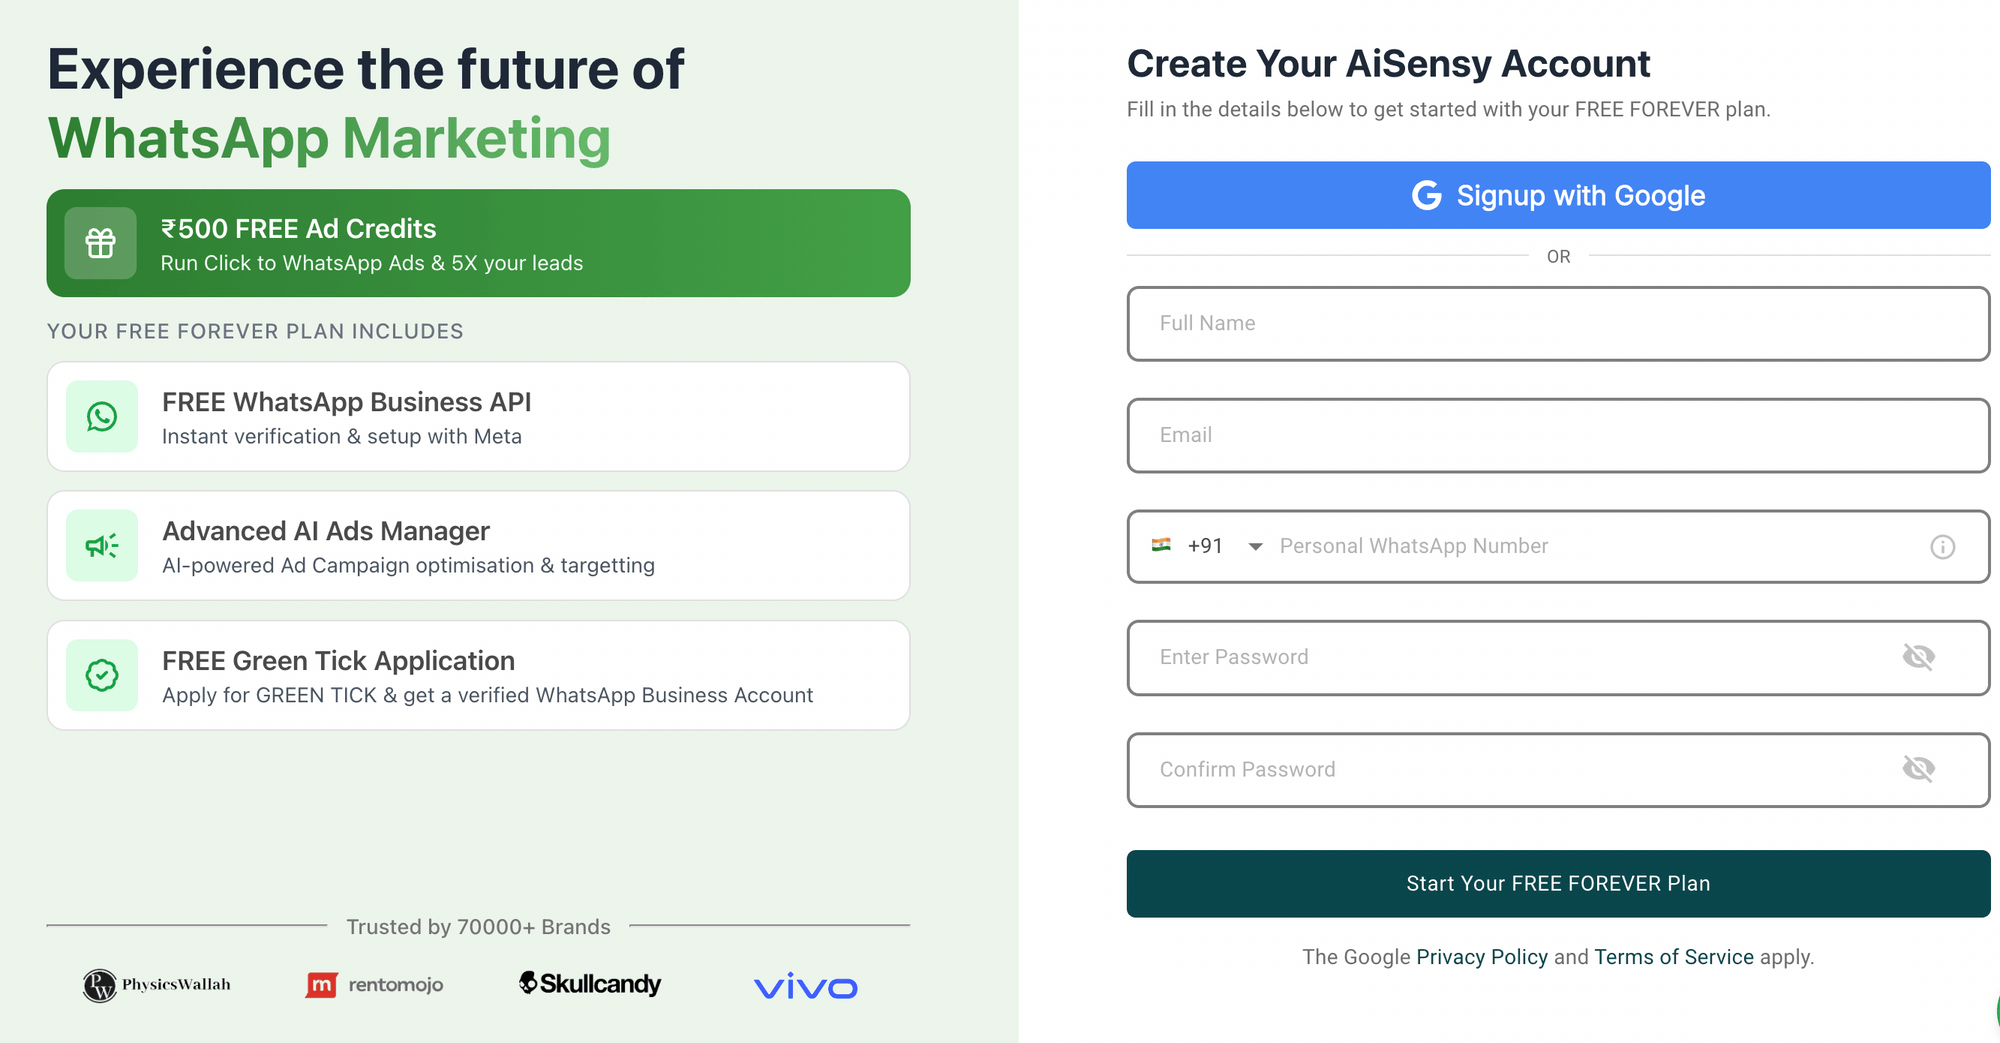
Signup on AiSensy
Signup on AiSensy Platform. Click on the Link below to Signup on AiSensy Platform
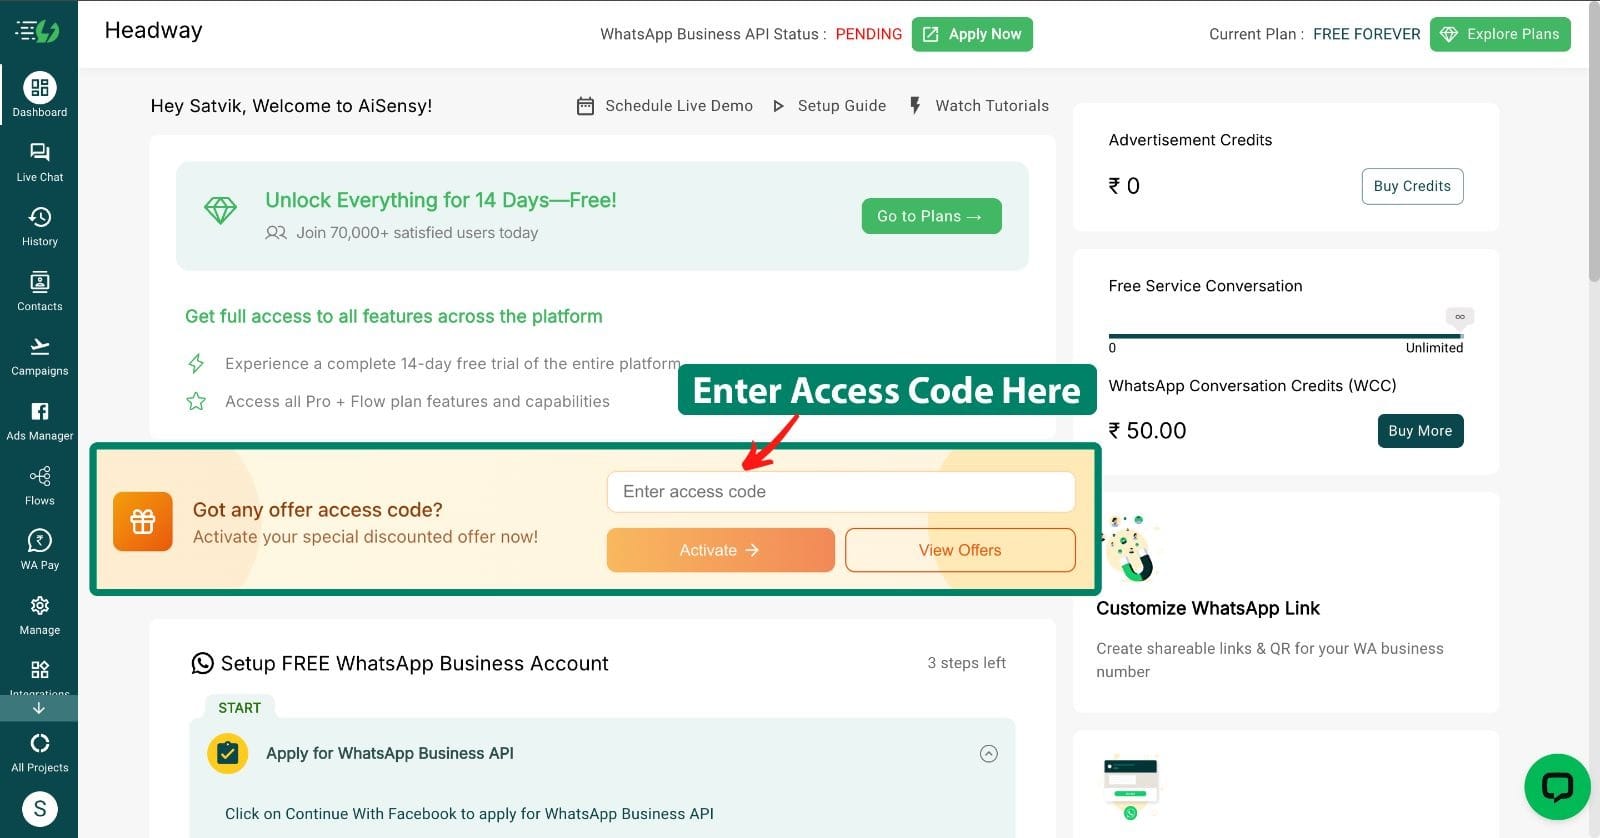
Enter Access Code
You have received an Access code on your Email & WhatsApp. Paste that access code in the first section of Dashboard and Activate your Ad Credits Offer Plan
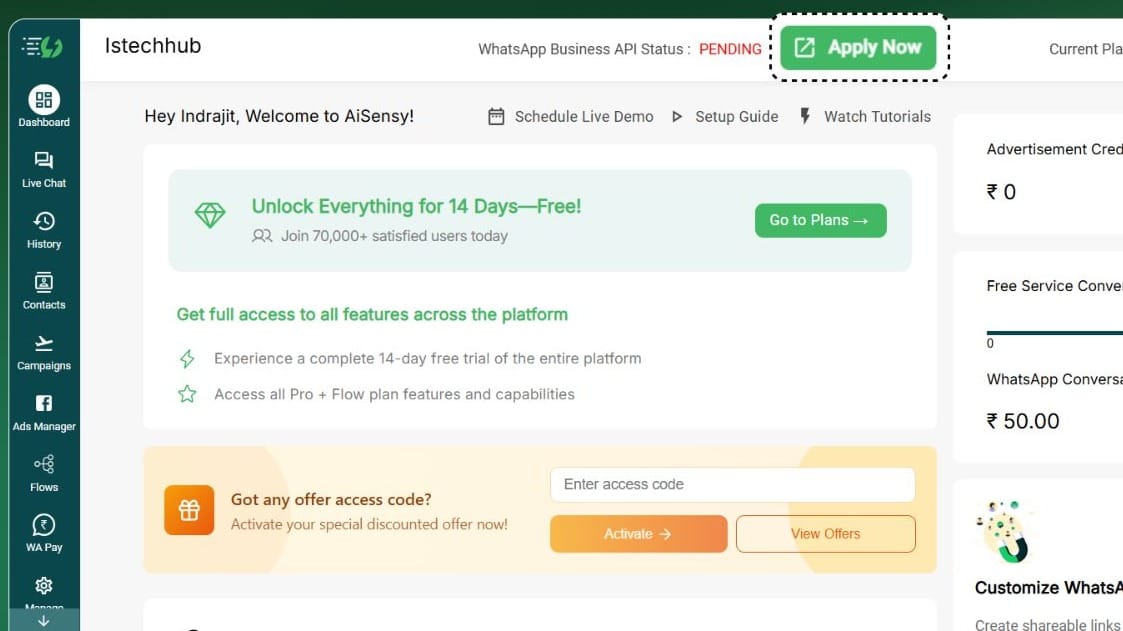
Apply for WhatsApp Business API
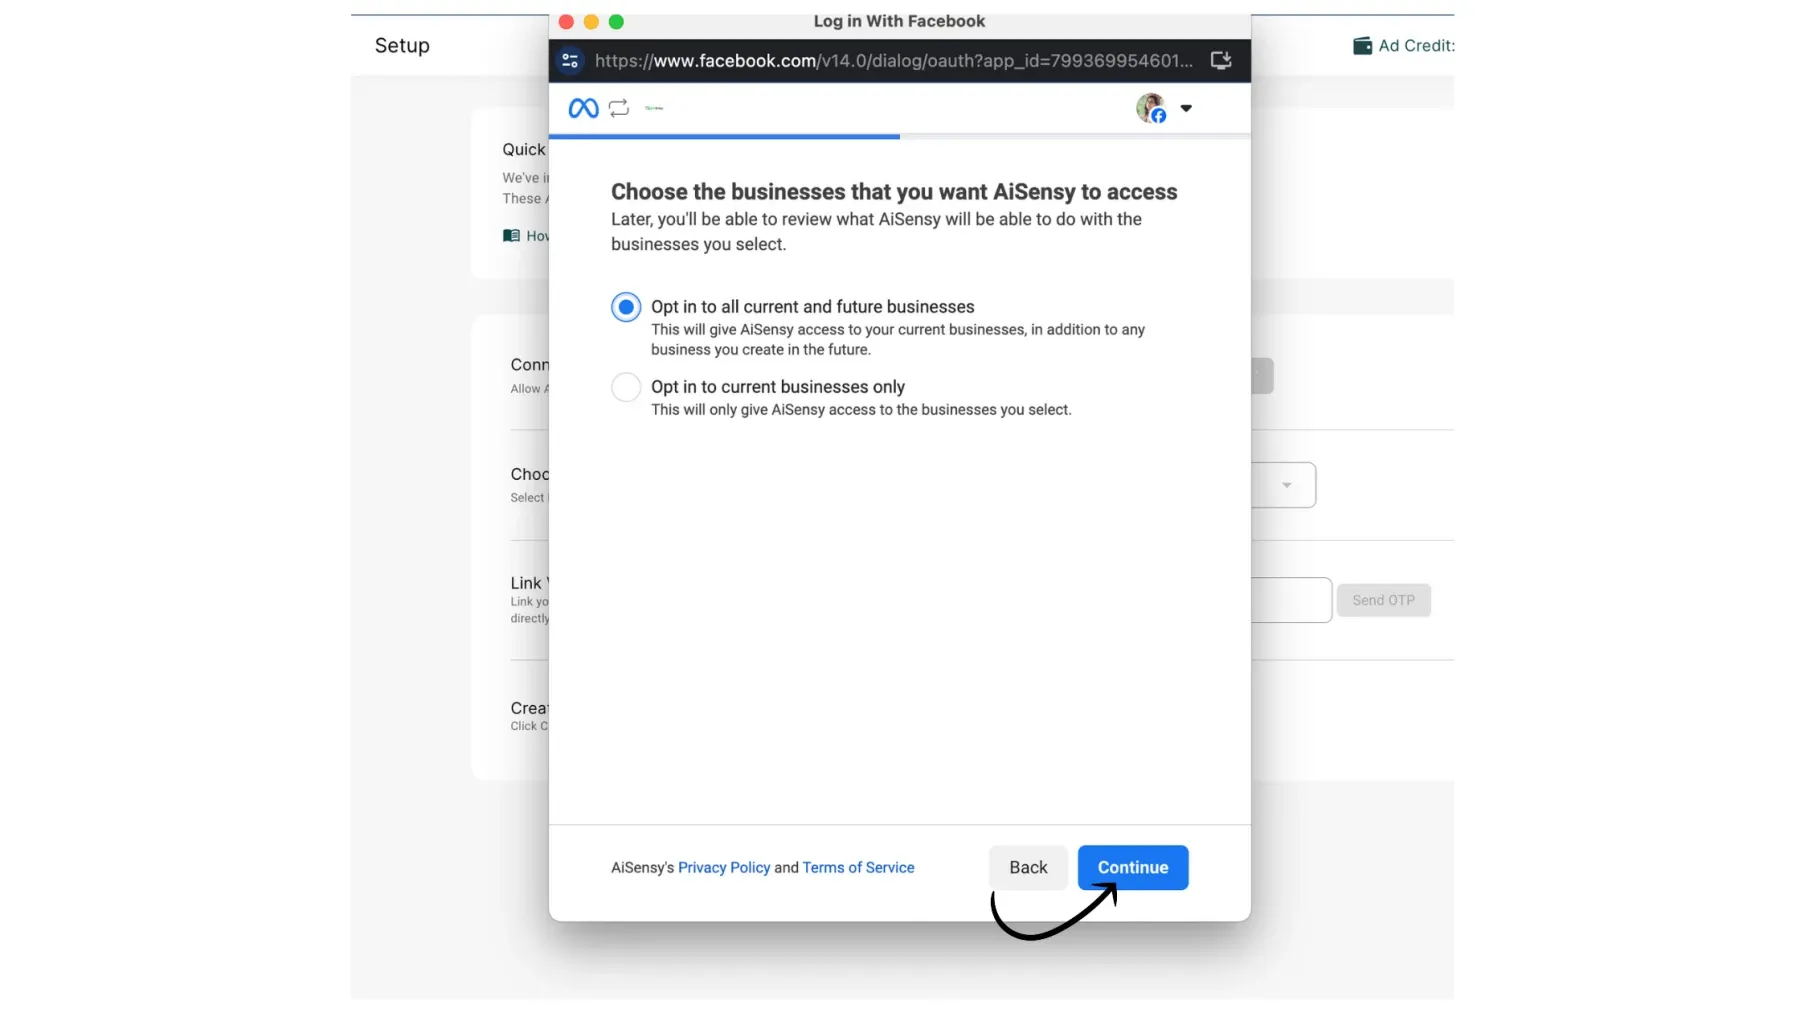
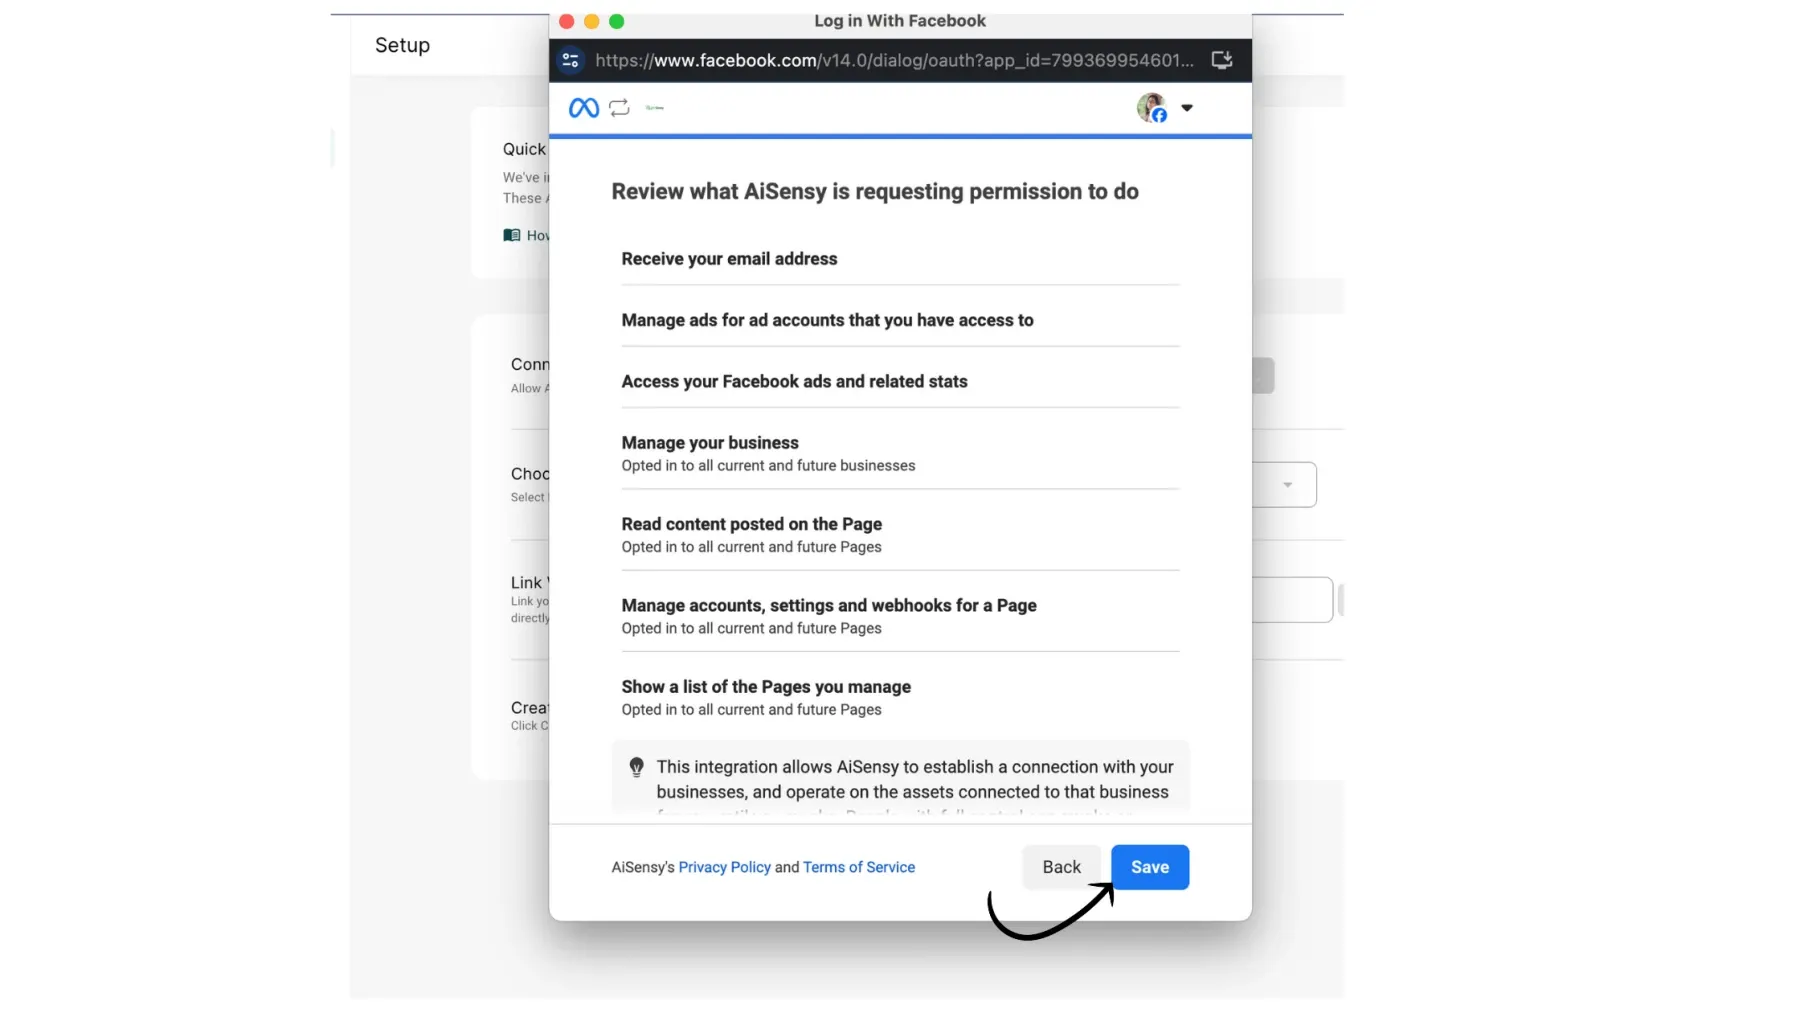
Apply for WhatsApp Business API within the Platform. It'll open up a popup dialog asking you to login Facebook and Continue.
Create a New Business Portfolio (Recommended)
In the first step of Embedded Signup(Facebook Popup) Procedure of Applying for WhatsApp Business API -> Choose Create a New Business Portfolio or Choose an Existing one
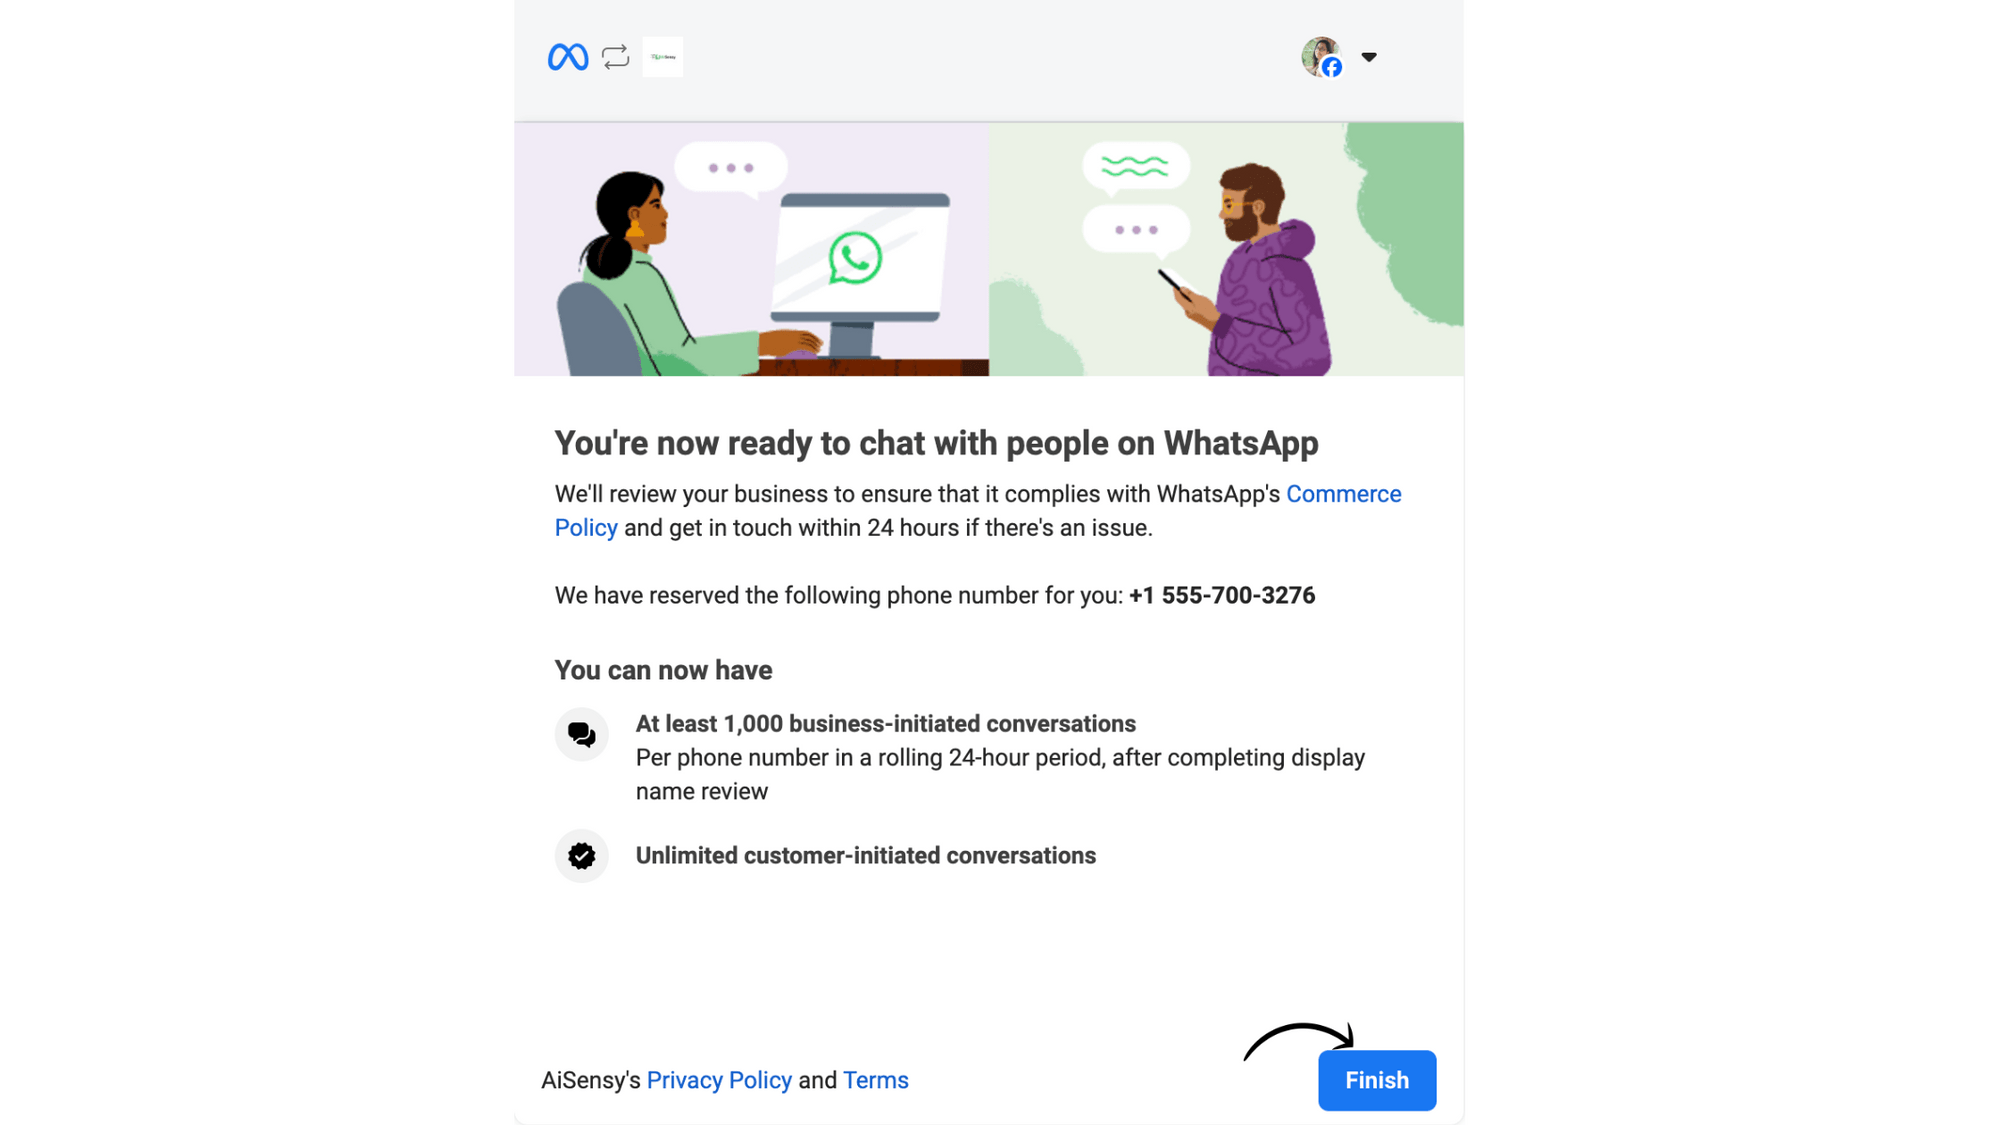
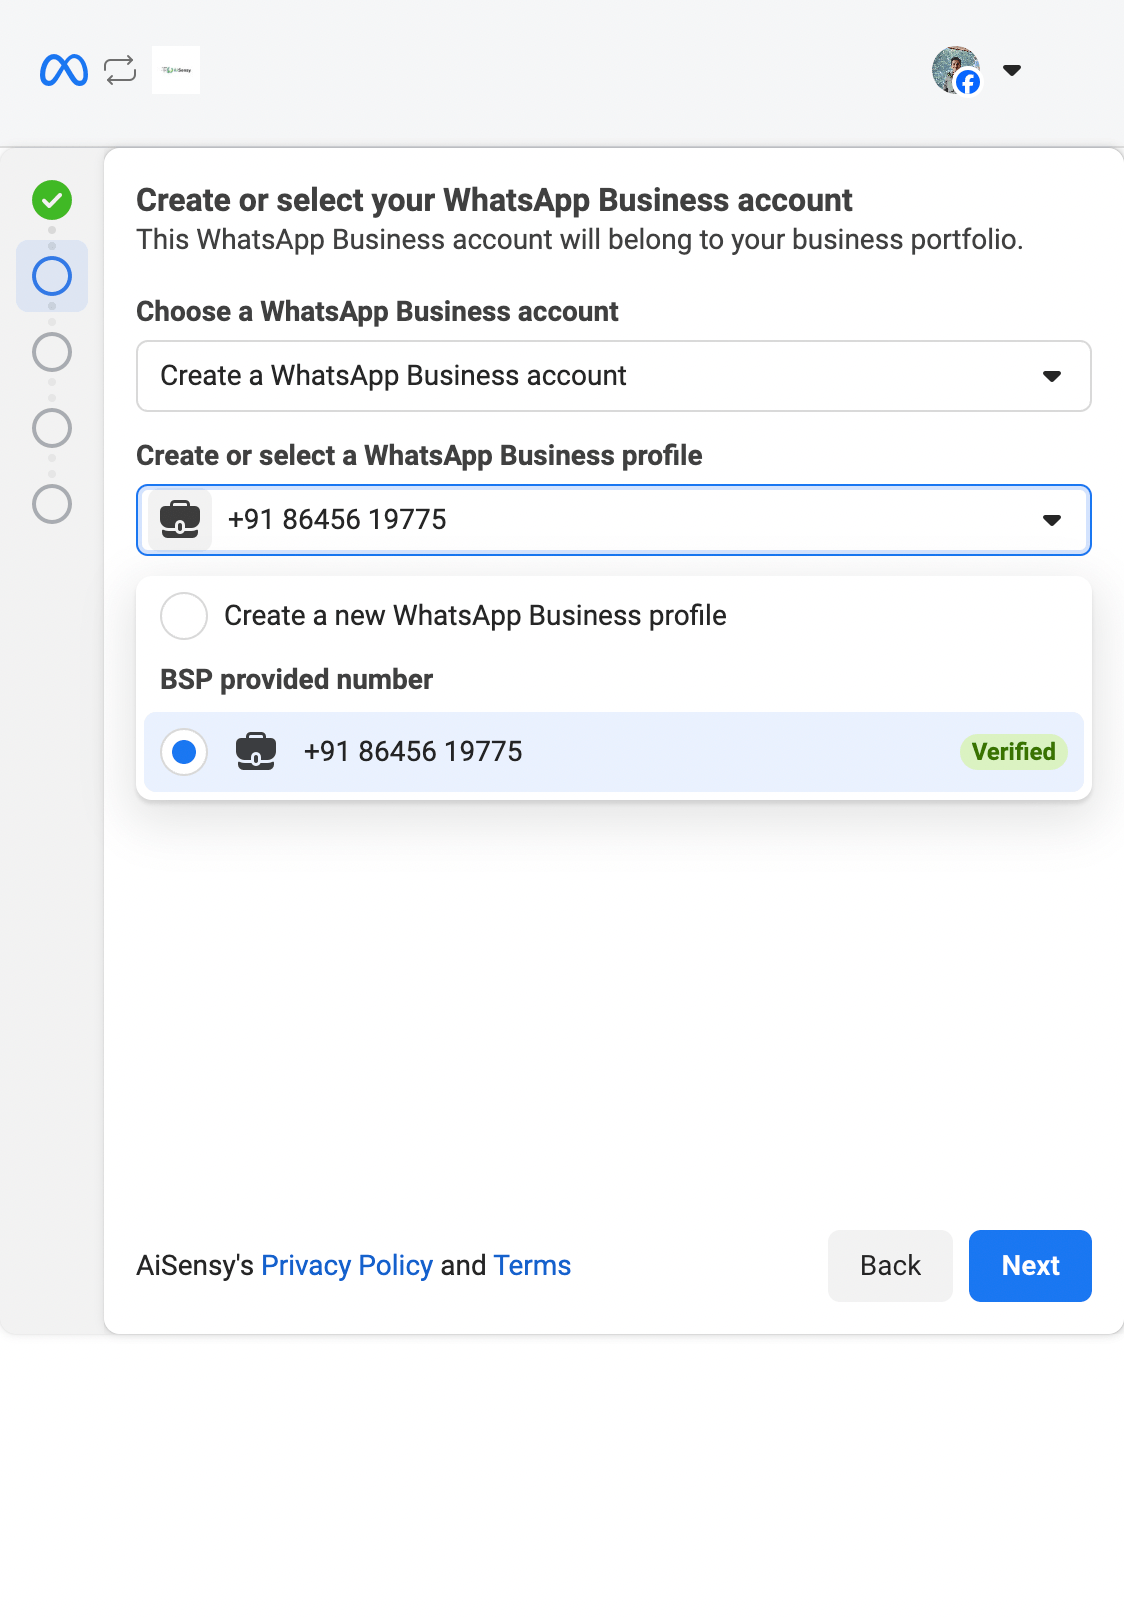
Get your Virtual Number in the Next Step!
Choose BSP Provided Number in the next step and complete the process. The Number you see in this step is your Virtual Number. Once this process is complete you can Setup WhatsApp profile and use this number on WhatsApp.
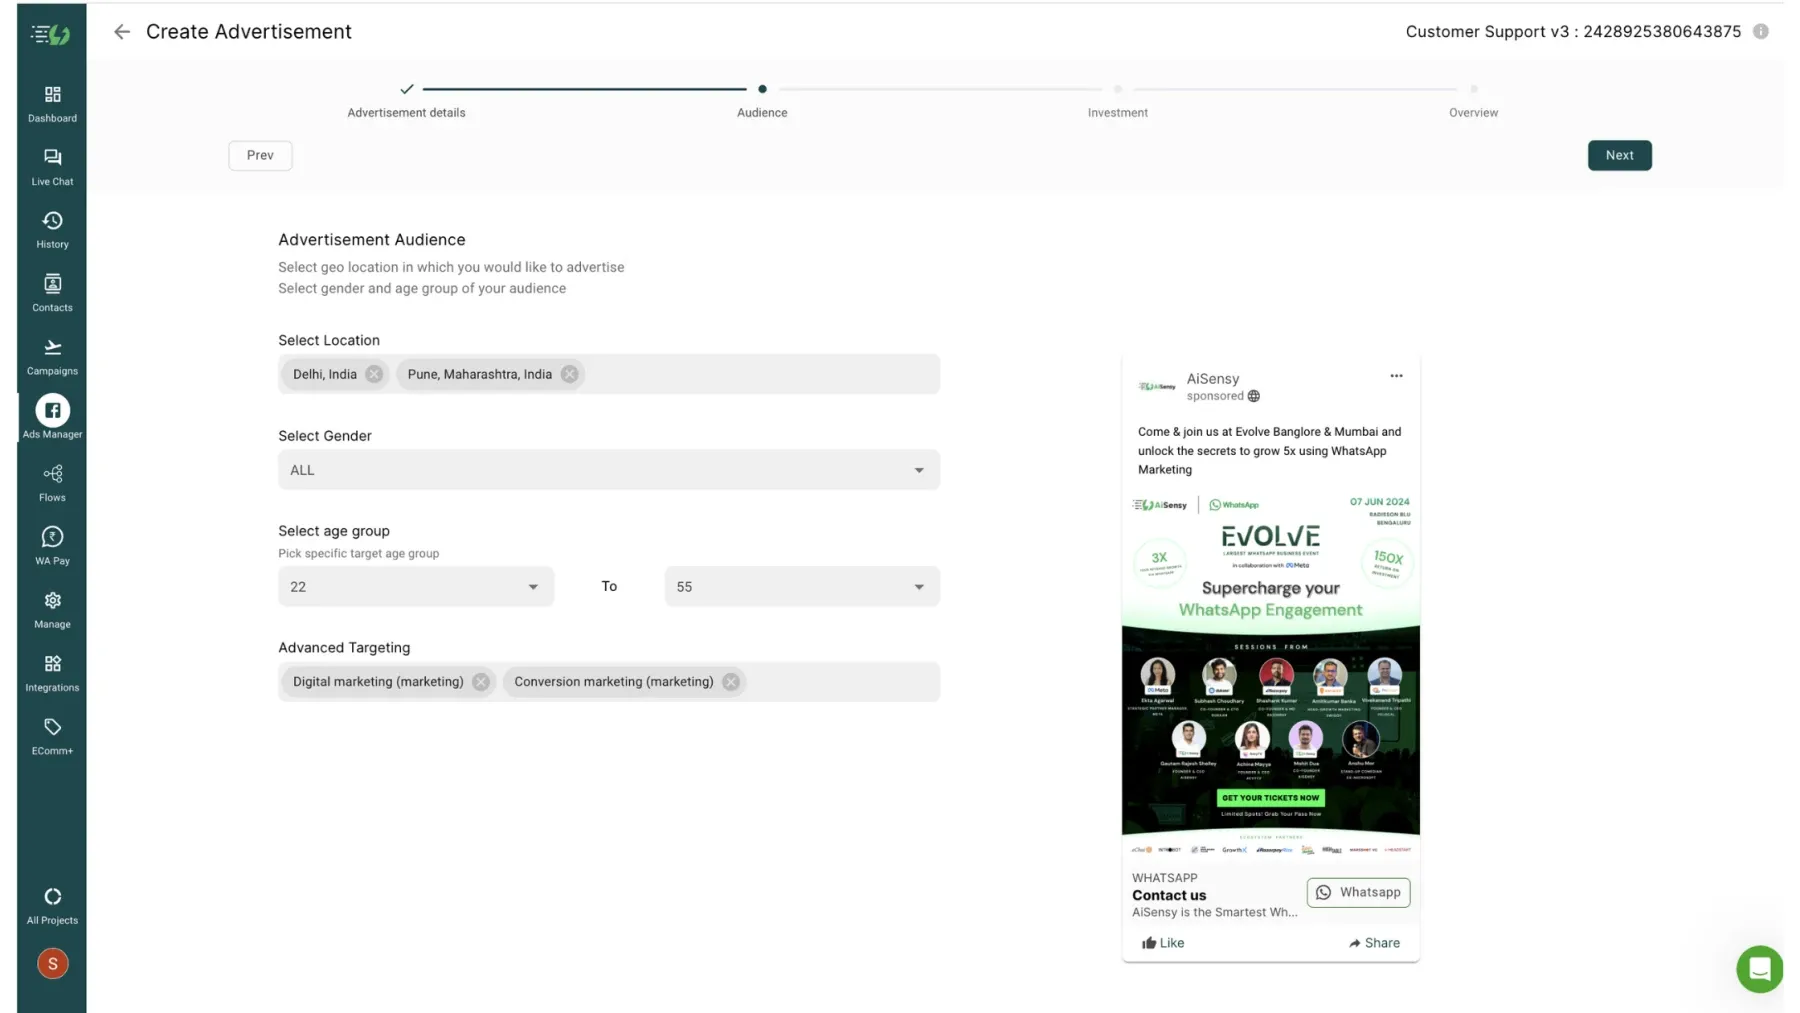
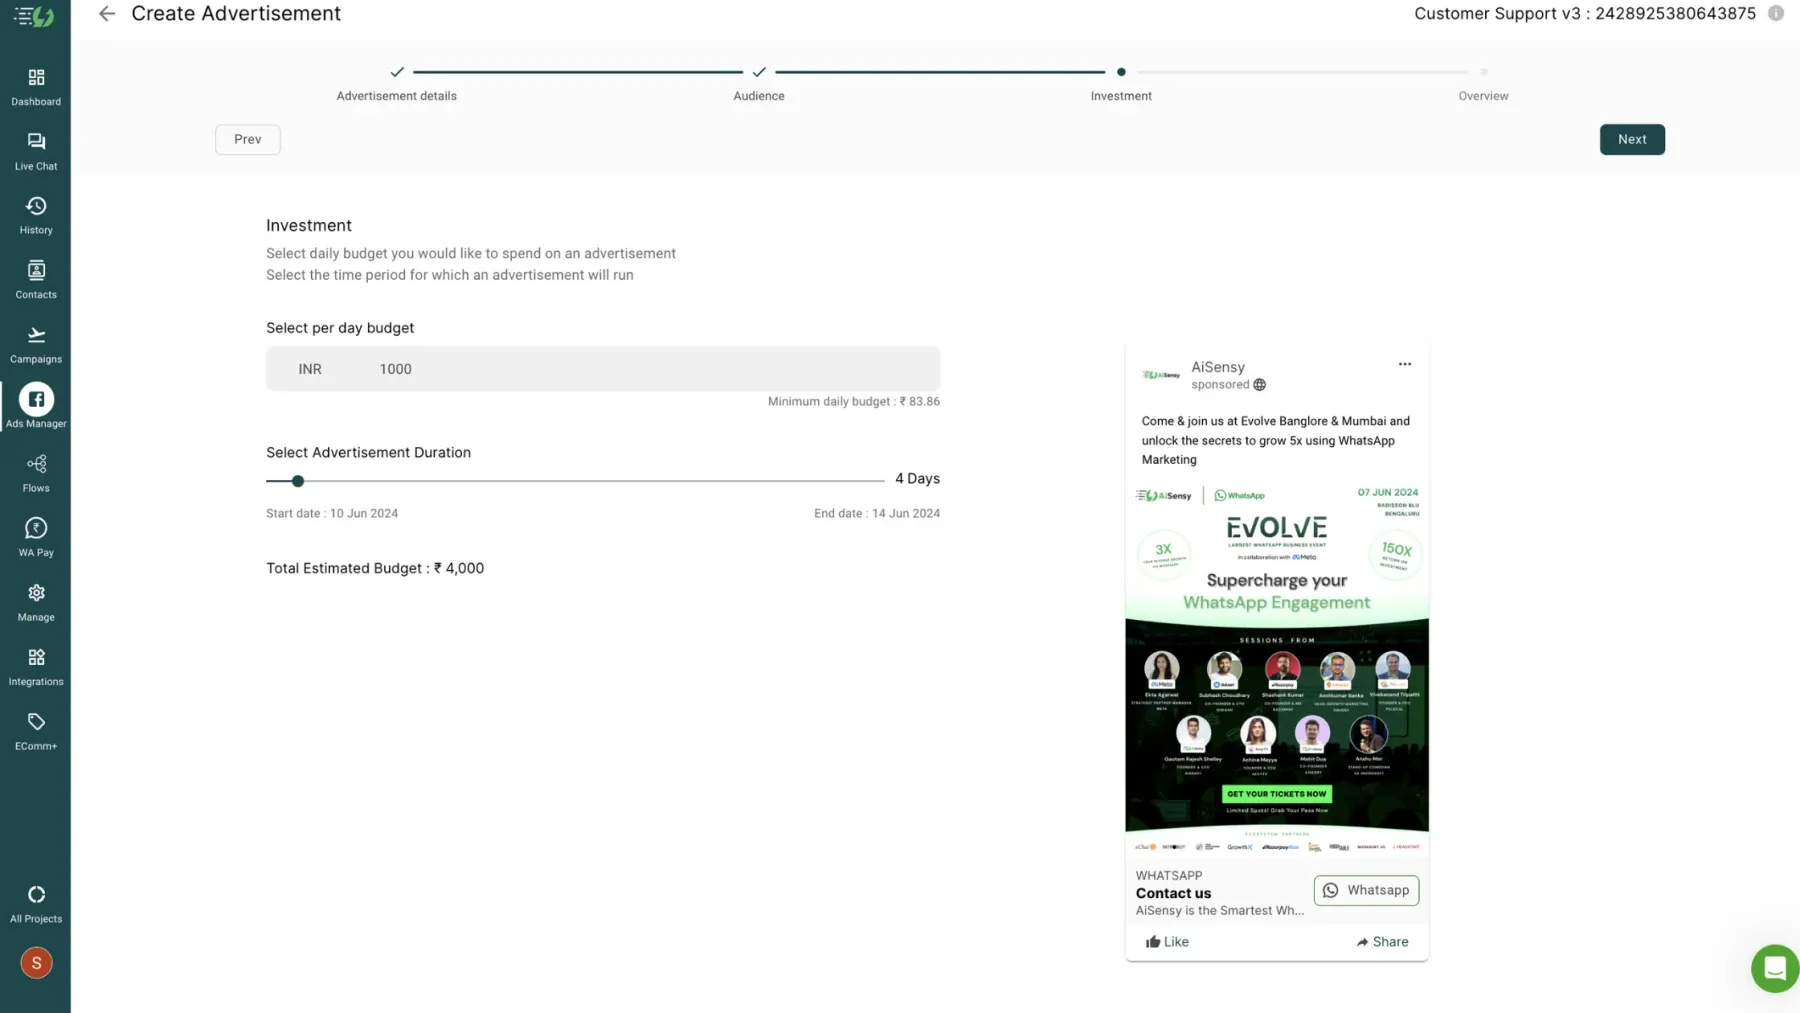
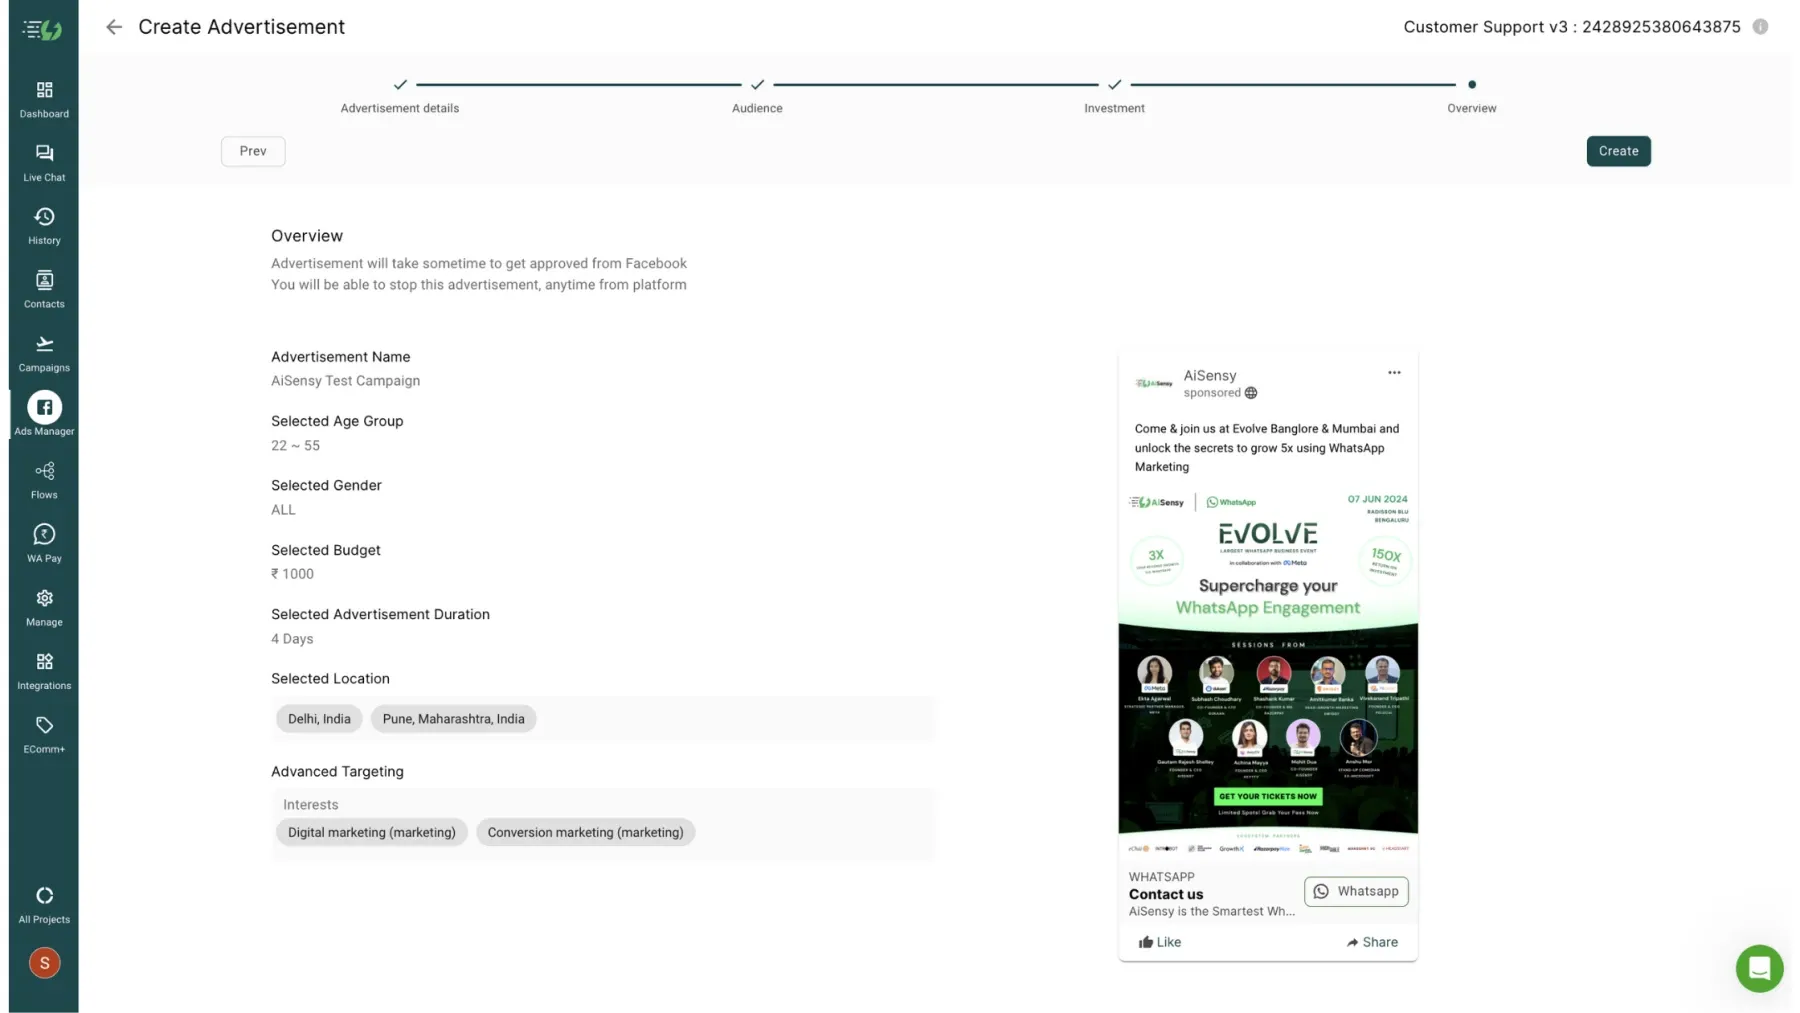
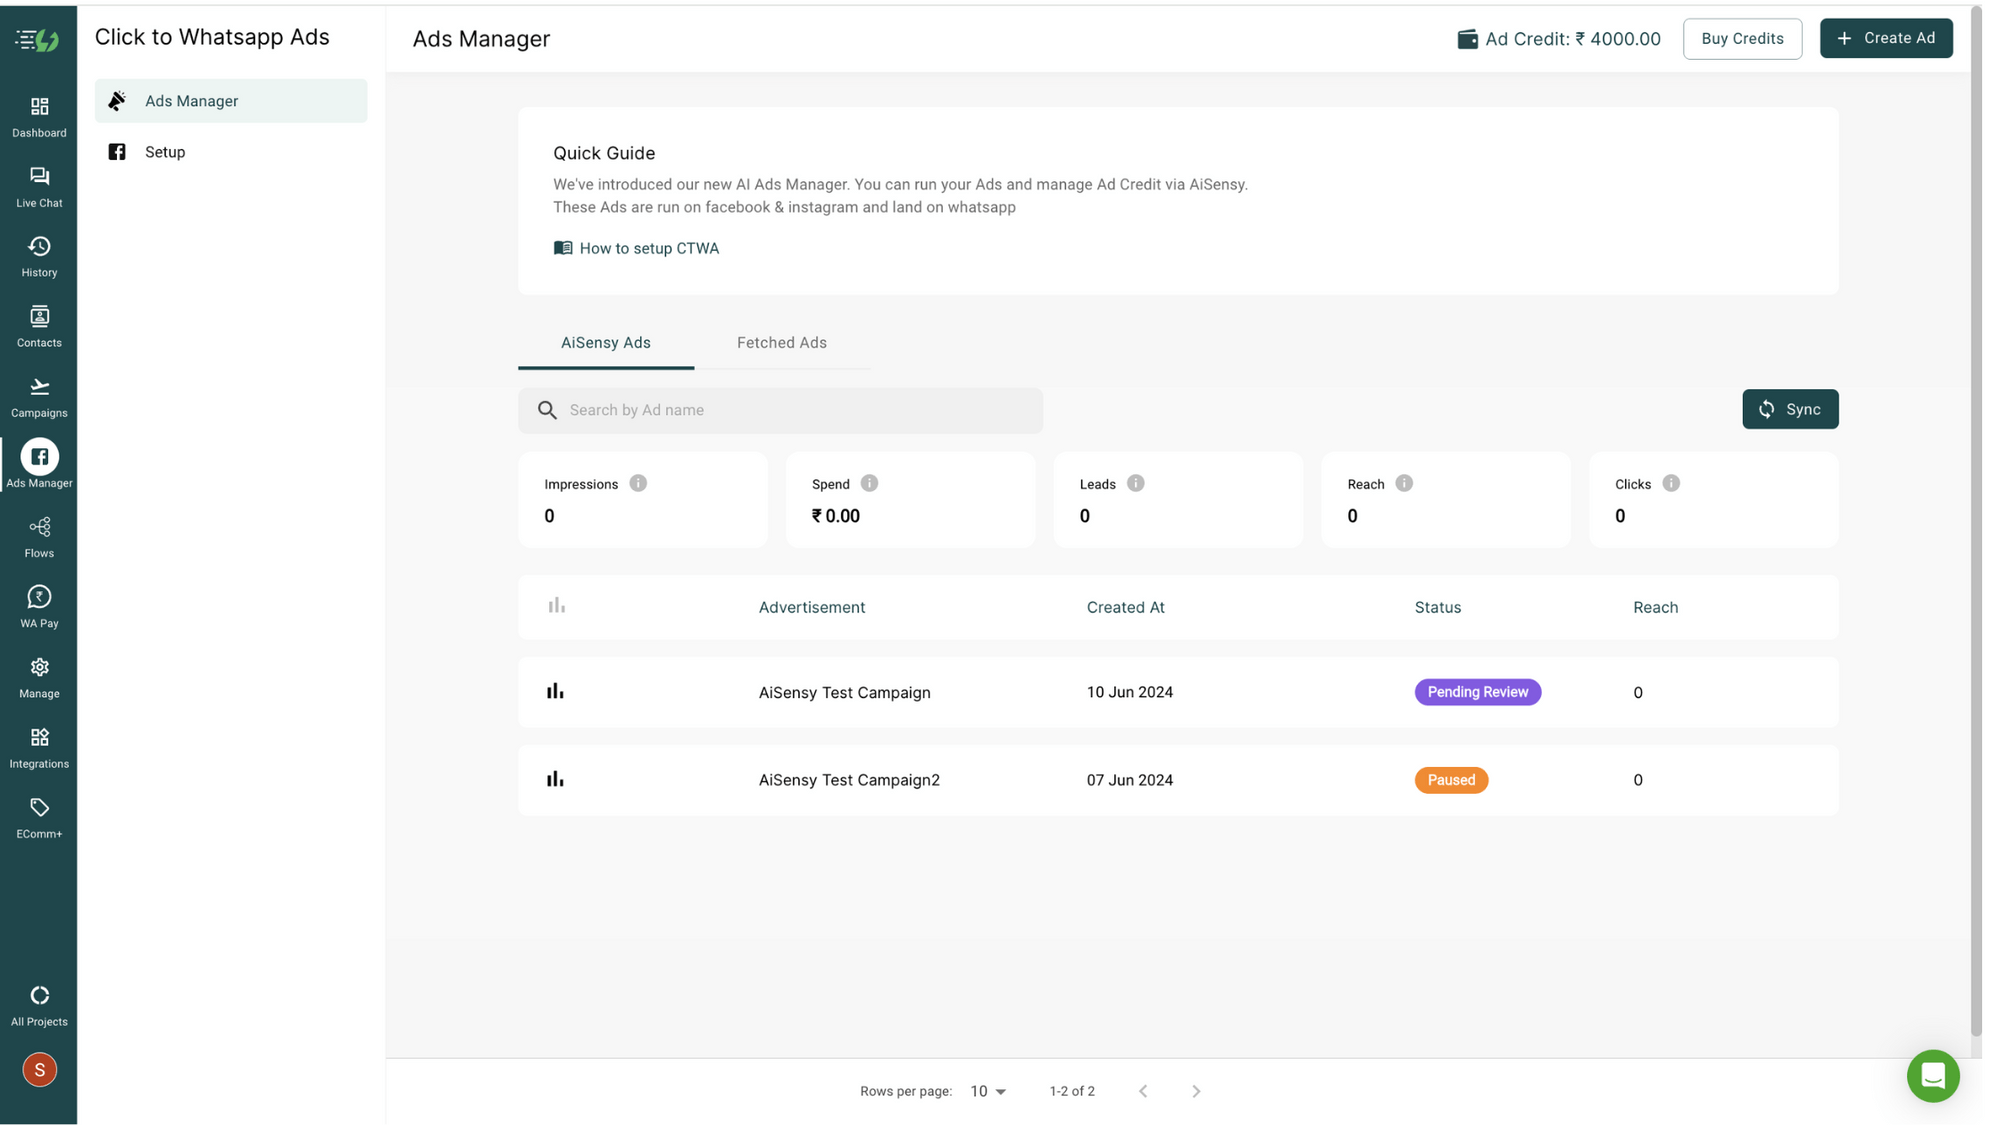
You can use AiSensy Platform to communicate with your customers via this number and drive leads via Click to WhatsApp Ads
You can use AiSensy Platform to communicate with your customers via this number and drive leads via Click to WhatsApp Ads
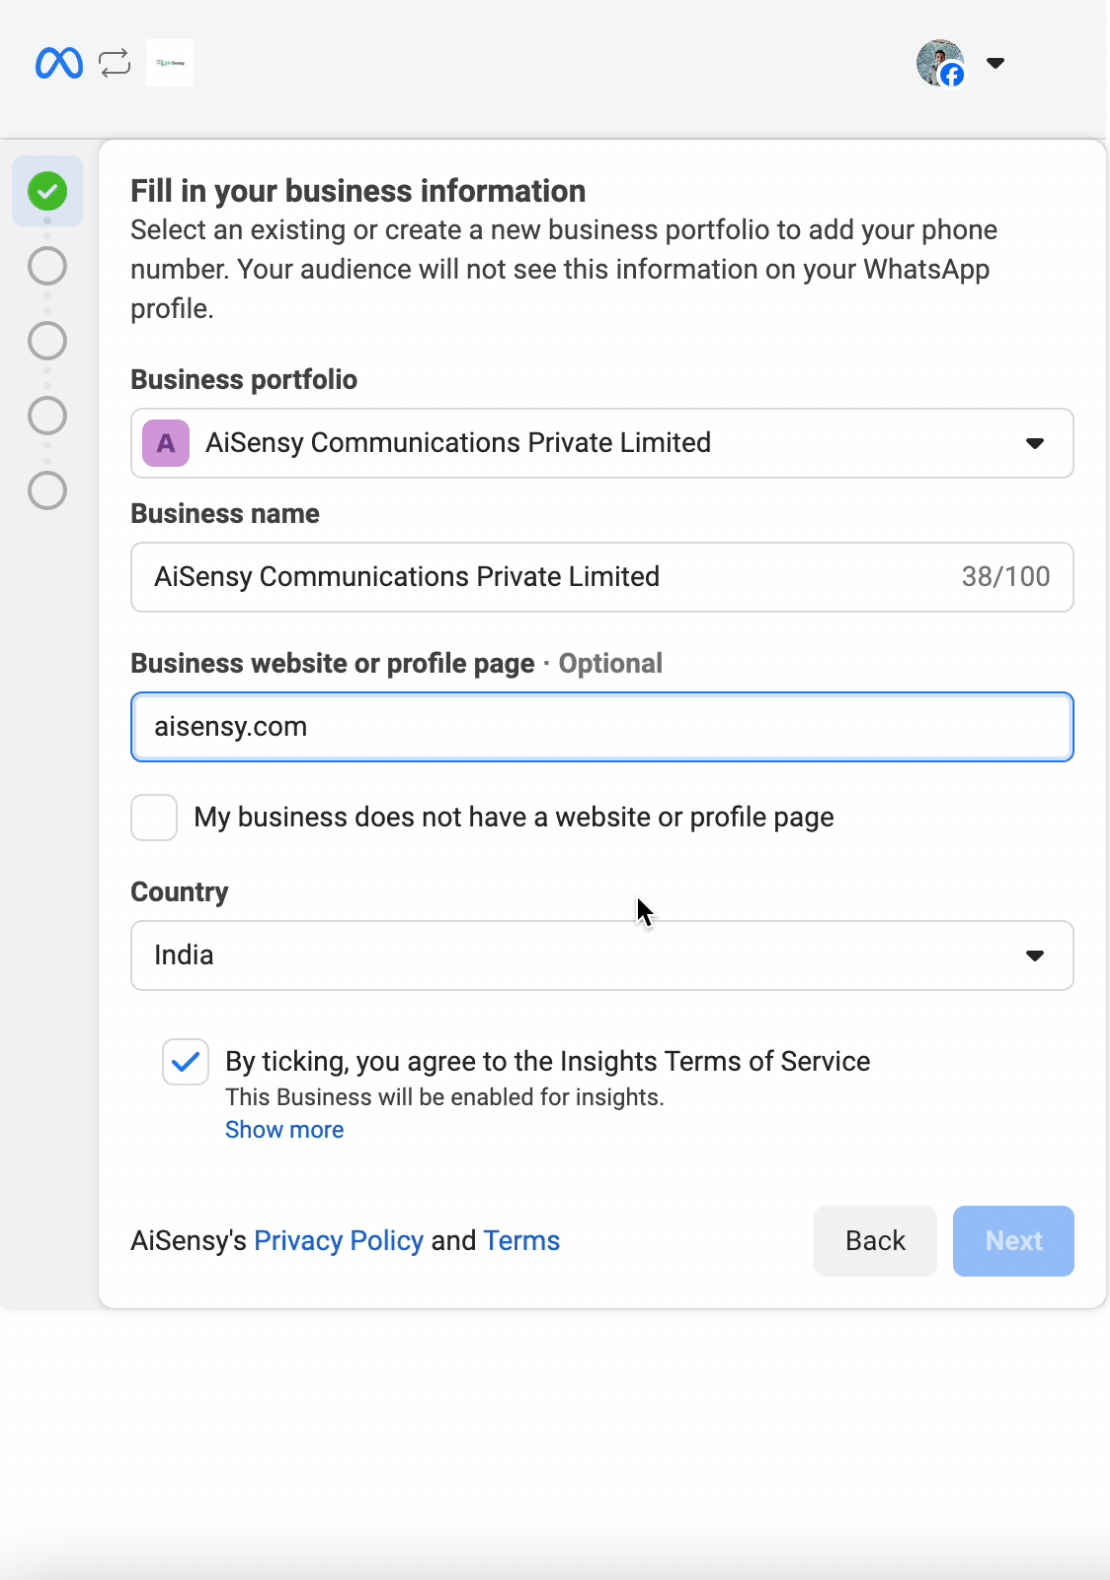
Add your Business address details
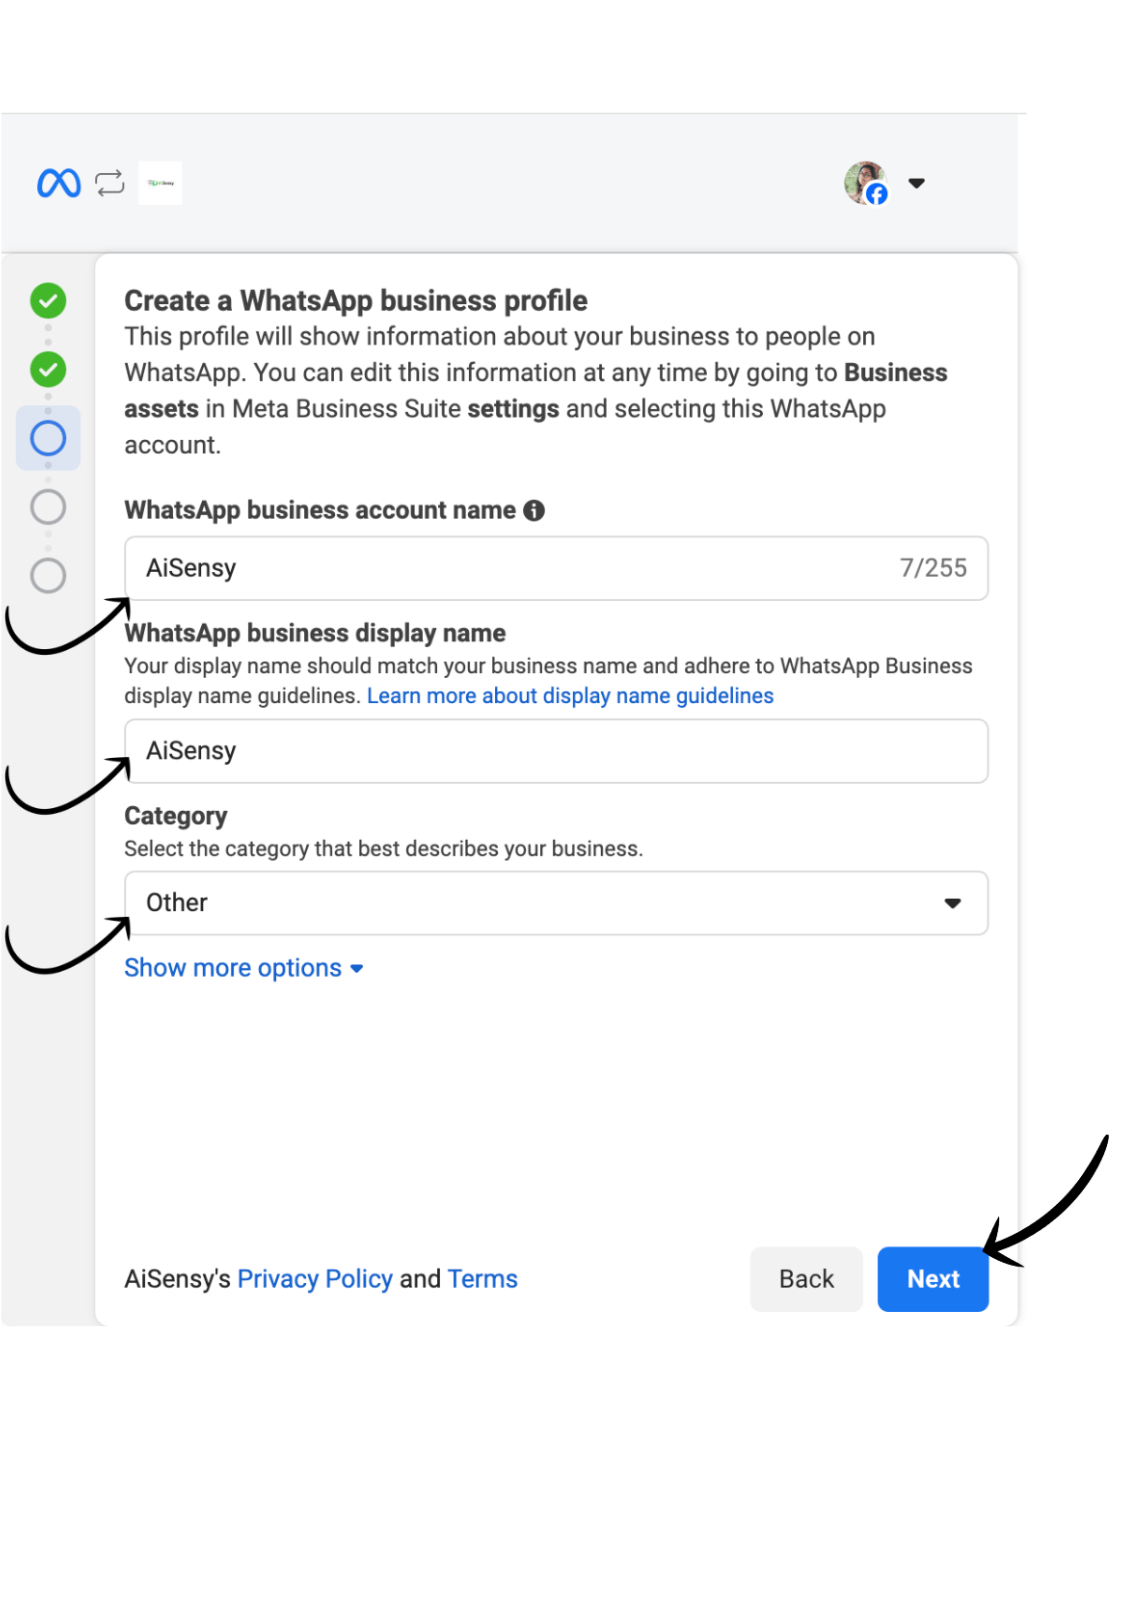
Here, fill in details such as:
WhatsApp Business account name: Now pick a WhatsApp business account name. This name can be anything related to your business.
*Note: This is not the display name you need for your WhatsApp Business API that will be visible to the end users.
WhatsApp Business Display name: Select a unique WhatsApp Business display name that will show across your WhatsApp business profile.
Select Business category: Here, select the industry most relevant for your business.
Your WhatsApp Business API Application is now under review
Congratulations! 🎉🎉
If you see the above screen, you've successfully applied for WhatsApp Business API.
The change will show in the AiSensy Platform where the status of WhatsApp Business API will now show LIVE.
Well, that's the complete process you need to follow to apply for WhatsApp Business API.
If you see the above screen, you've successfully applied for WhatsApp Business API.
The change will show in the AiSensy Platform where the status of WhatsApp Business API will now show LIVE.
Well, that's the complete process you need to follow to apply for WhatsApp Business API.